How To Position Stamps On Die Cuts
Many companies are now offering punches or dies that coordinate with their stamps so one can stamp and cut the image easily. Software for several of the electronic die cutting machines on the market make it possible to create your own die cuts for your stamps. With a tiny border, it can be challenging to get the stamp positioned perfectly, especially with red rubber stamps since you can’t see through them. I have several tools that I use to make this easier.
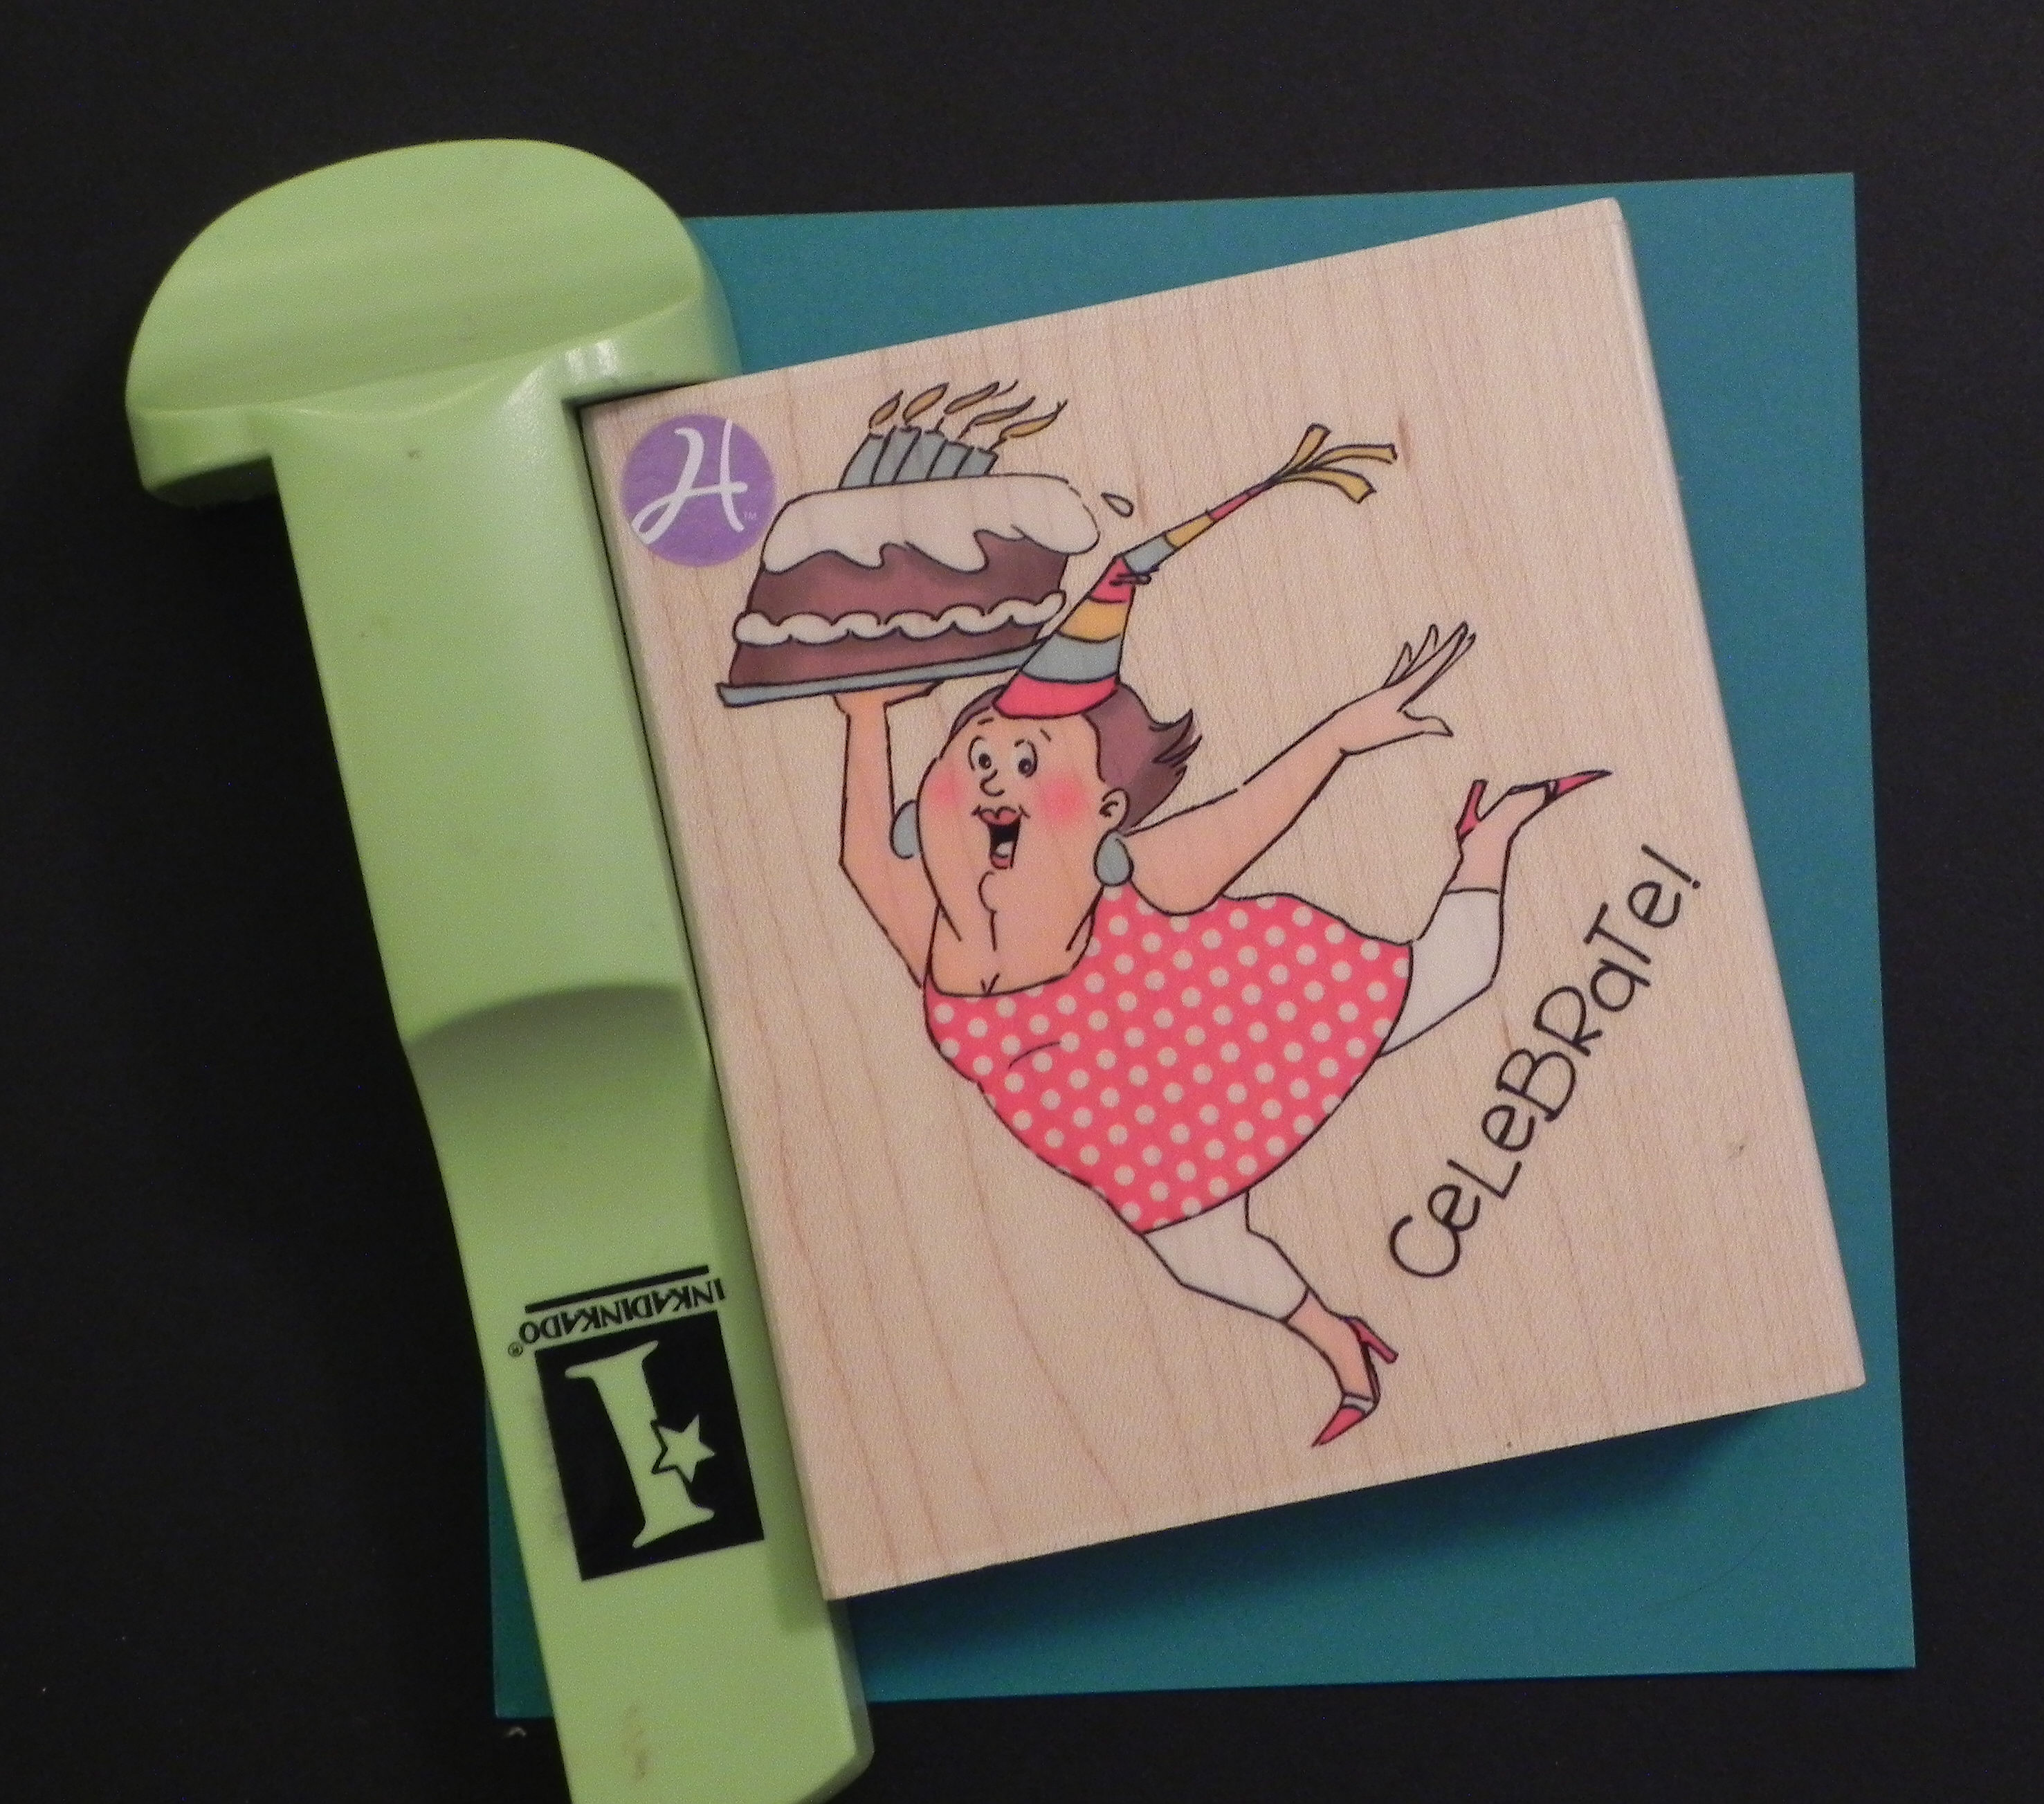
One tool that I use and love is the MISTI (You can check out my previous post HERE for more info on this incredible tool.) This tool works with acrylic and red rubber stamps that are not mounted on wood or acrylic blocks. I have quite a few wood mounted stamps so I either use a different positioning tool (a stamp-a-ma-jig which I’ll explain below) with those, or I remove the stamp from the wood block and attach a new piece of mounting foam to the rubber so it becomes a cling stamp.
Here’s how I use the MISTI with my acrylic/cling stamps and coordinating die cuts:
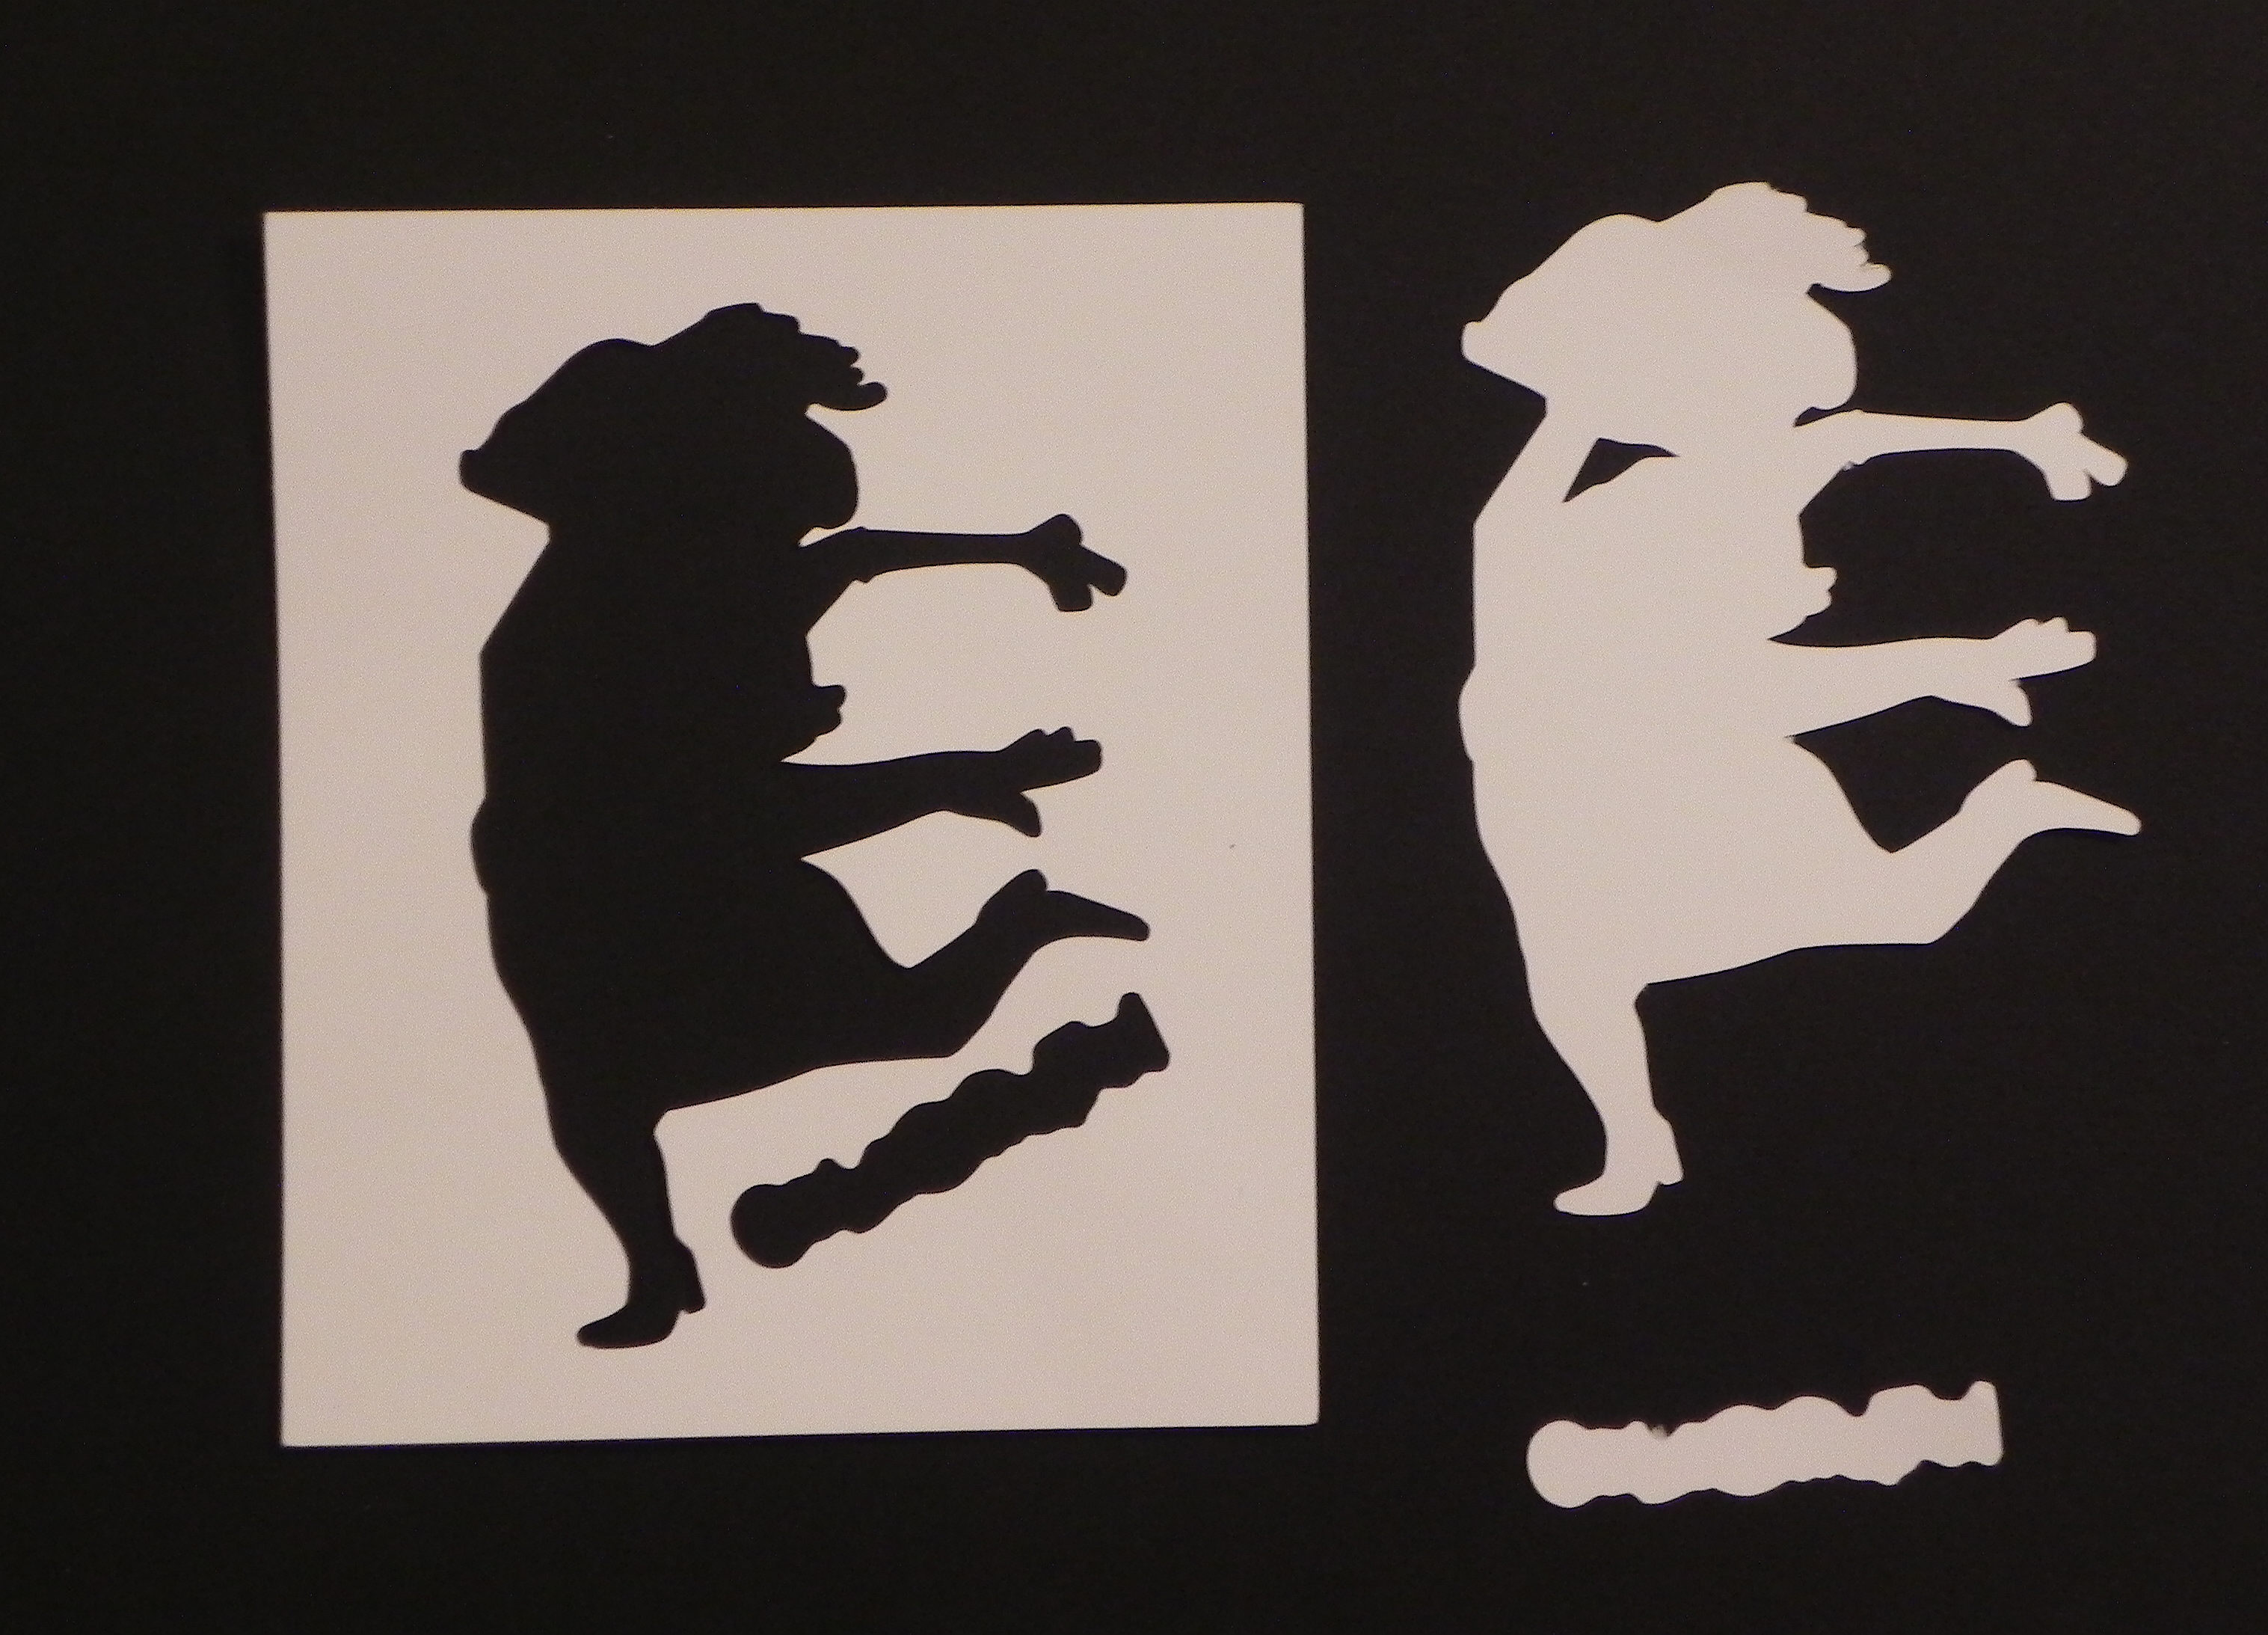
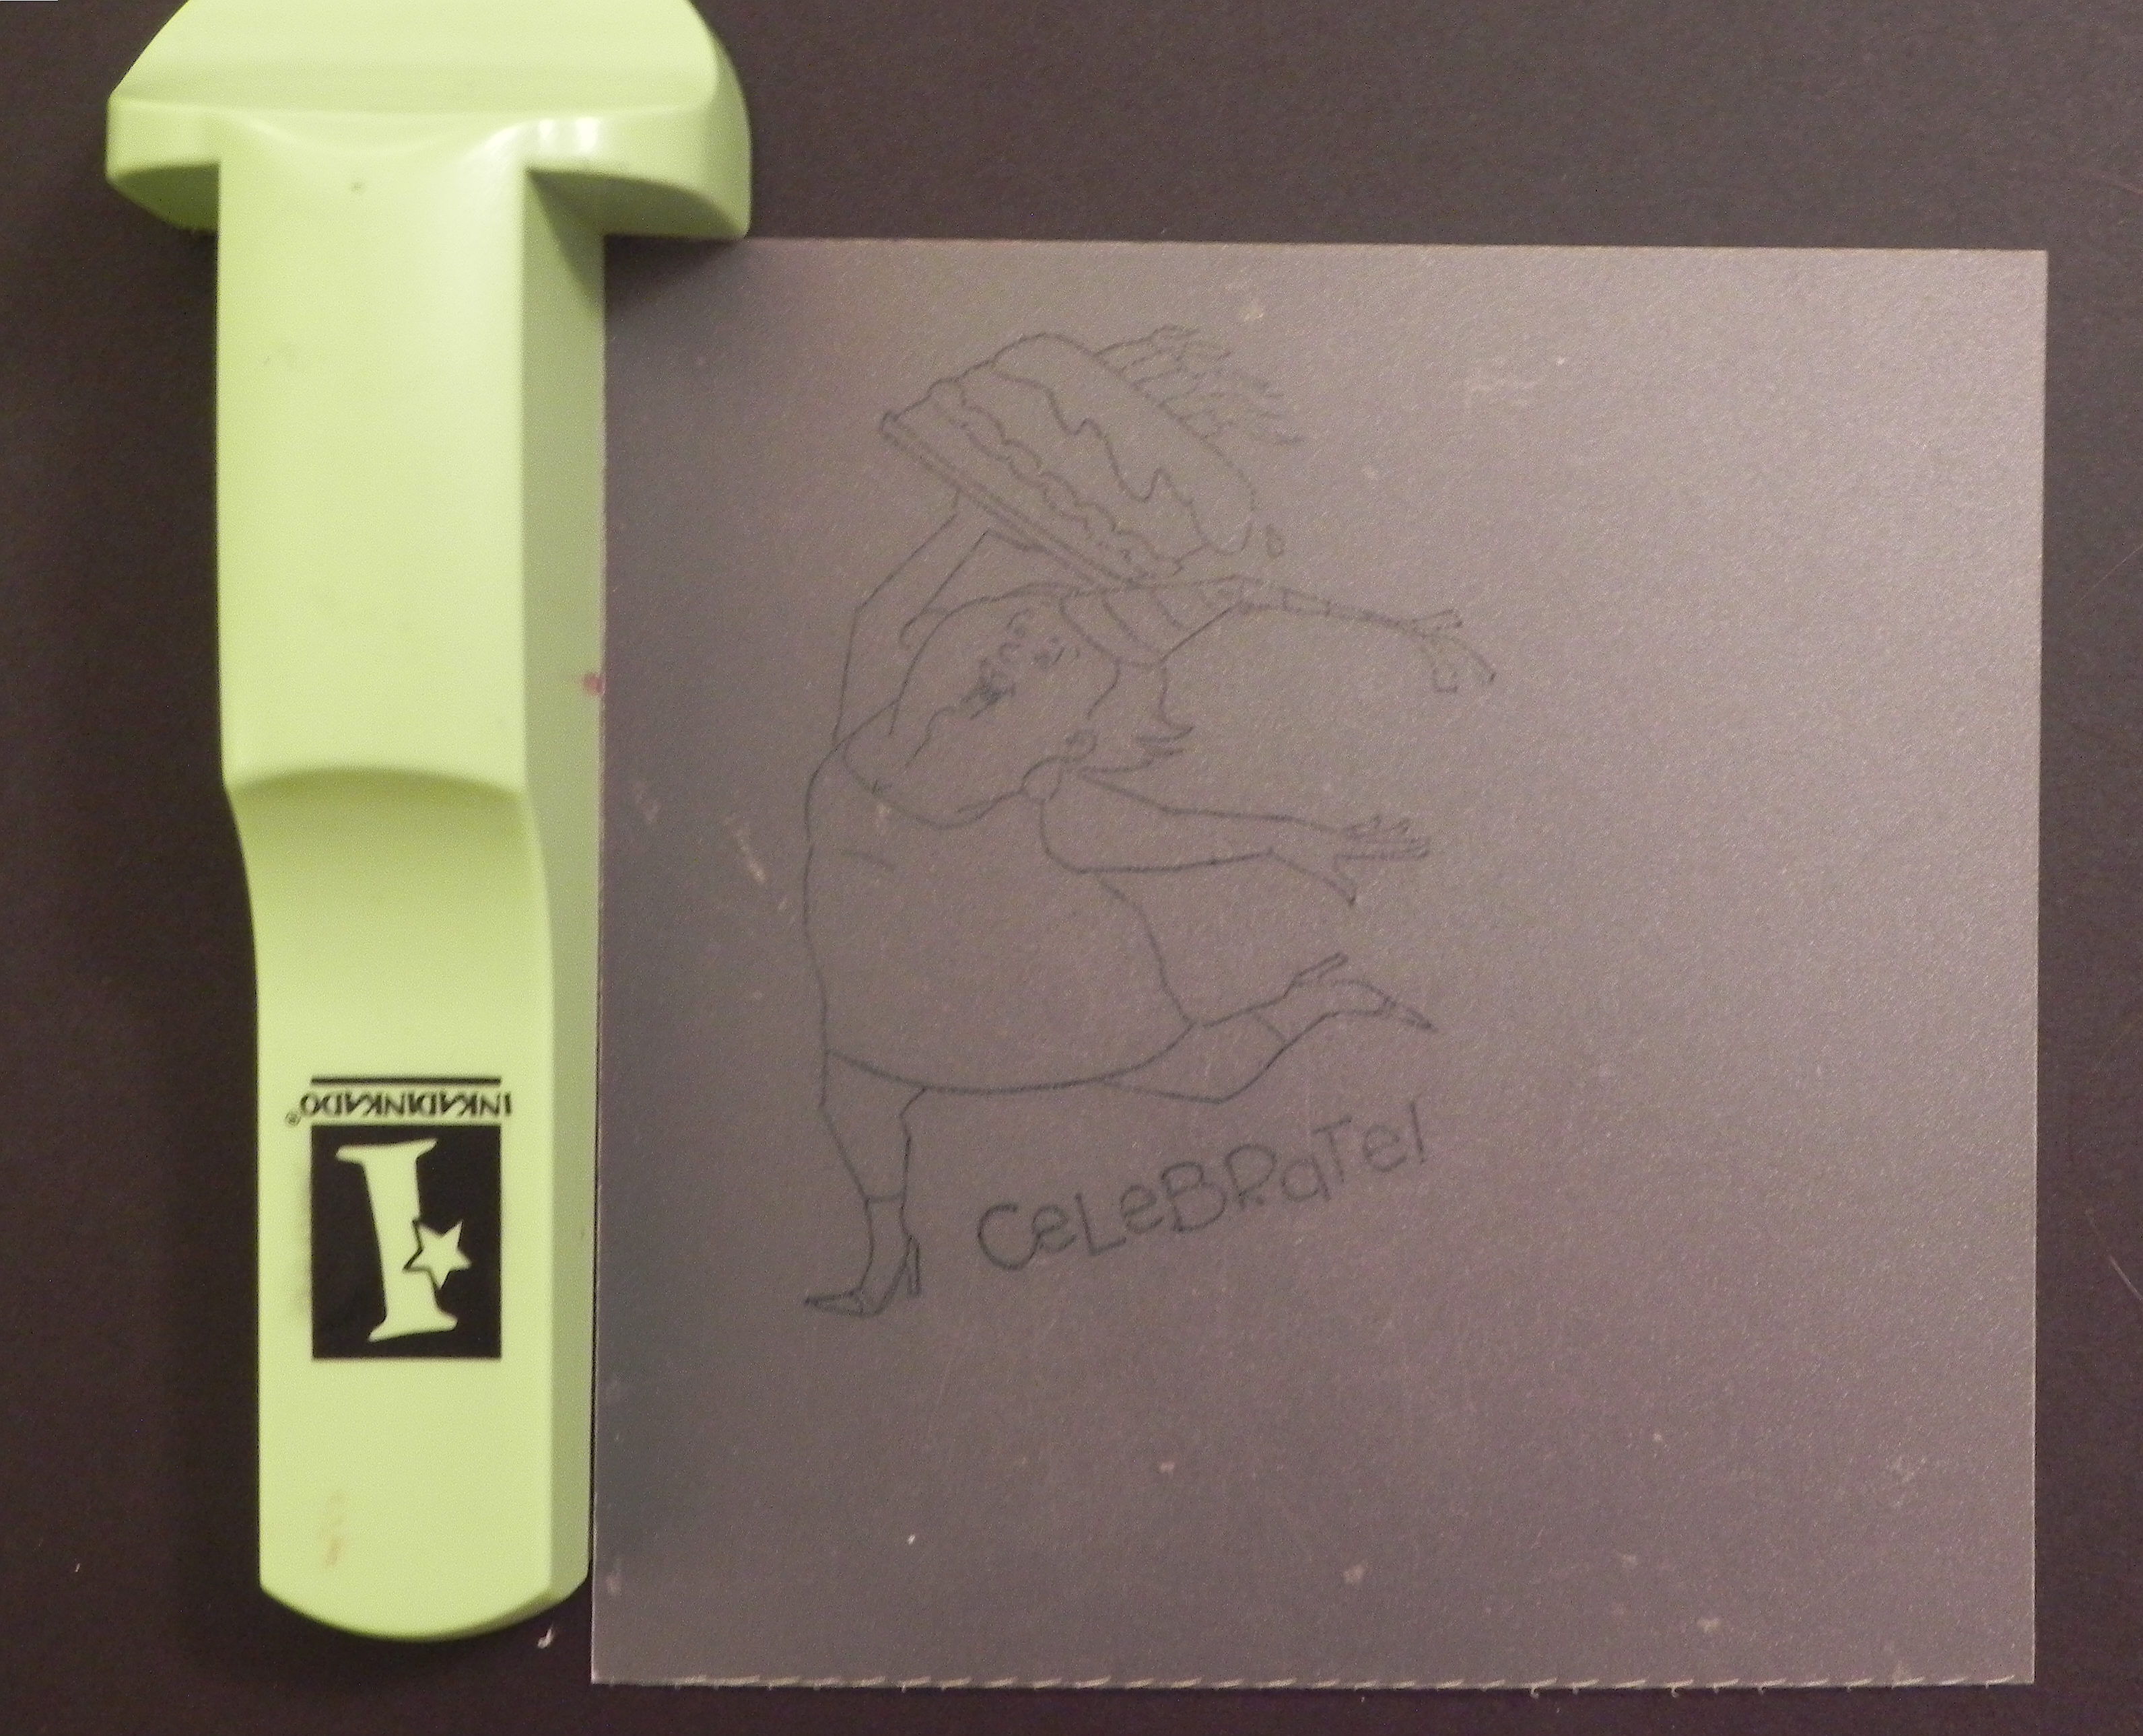
a. Cut the shape out of a piece of card stock. Keep BOTH the die cut shape AND the negative (the piece from which you cut the shape – with the hole in it).
b. Stamp your image on a scrap of card stock using the MISTI. DO NOT move the stamp or this panel once it has the image stamped on it. (I use magnets to hold the card stock in place. You can also use tape.)


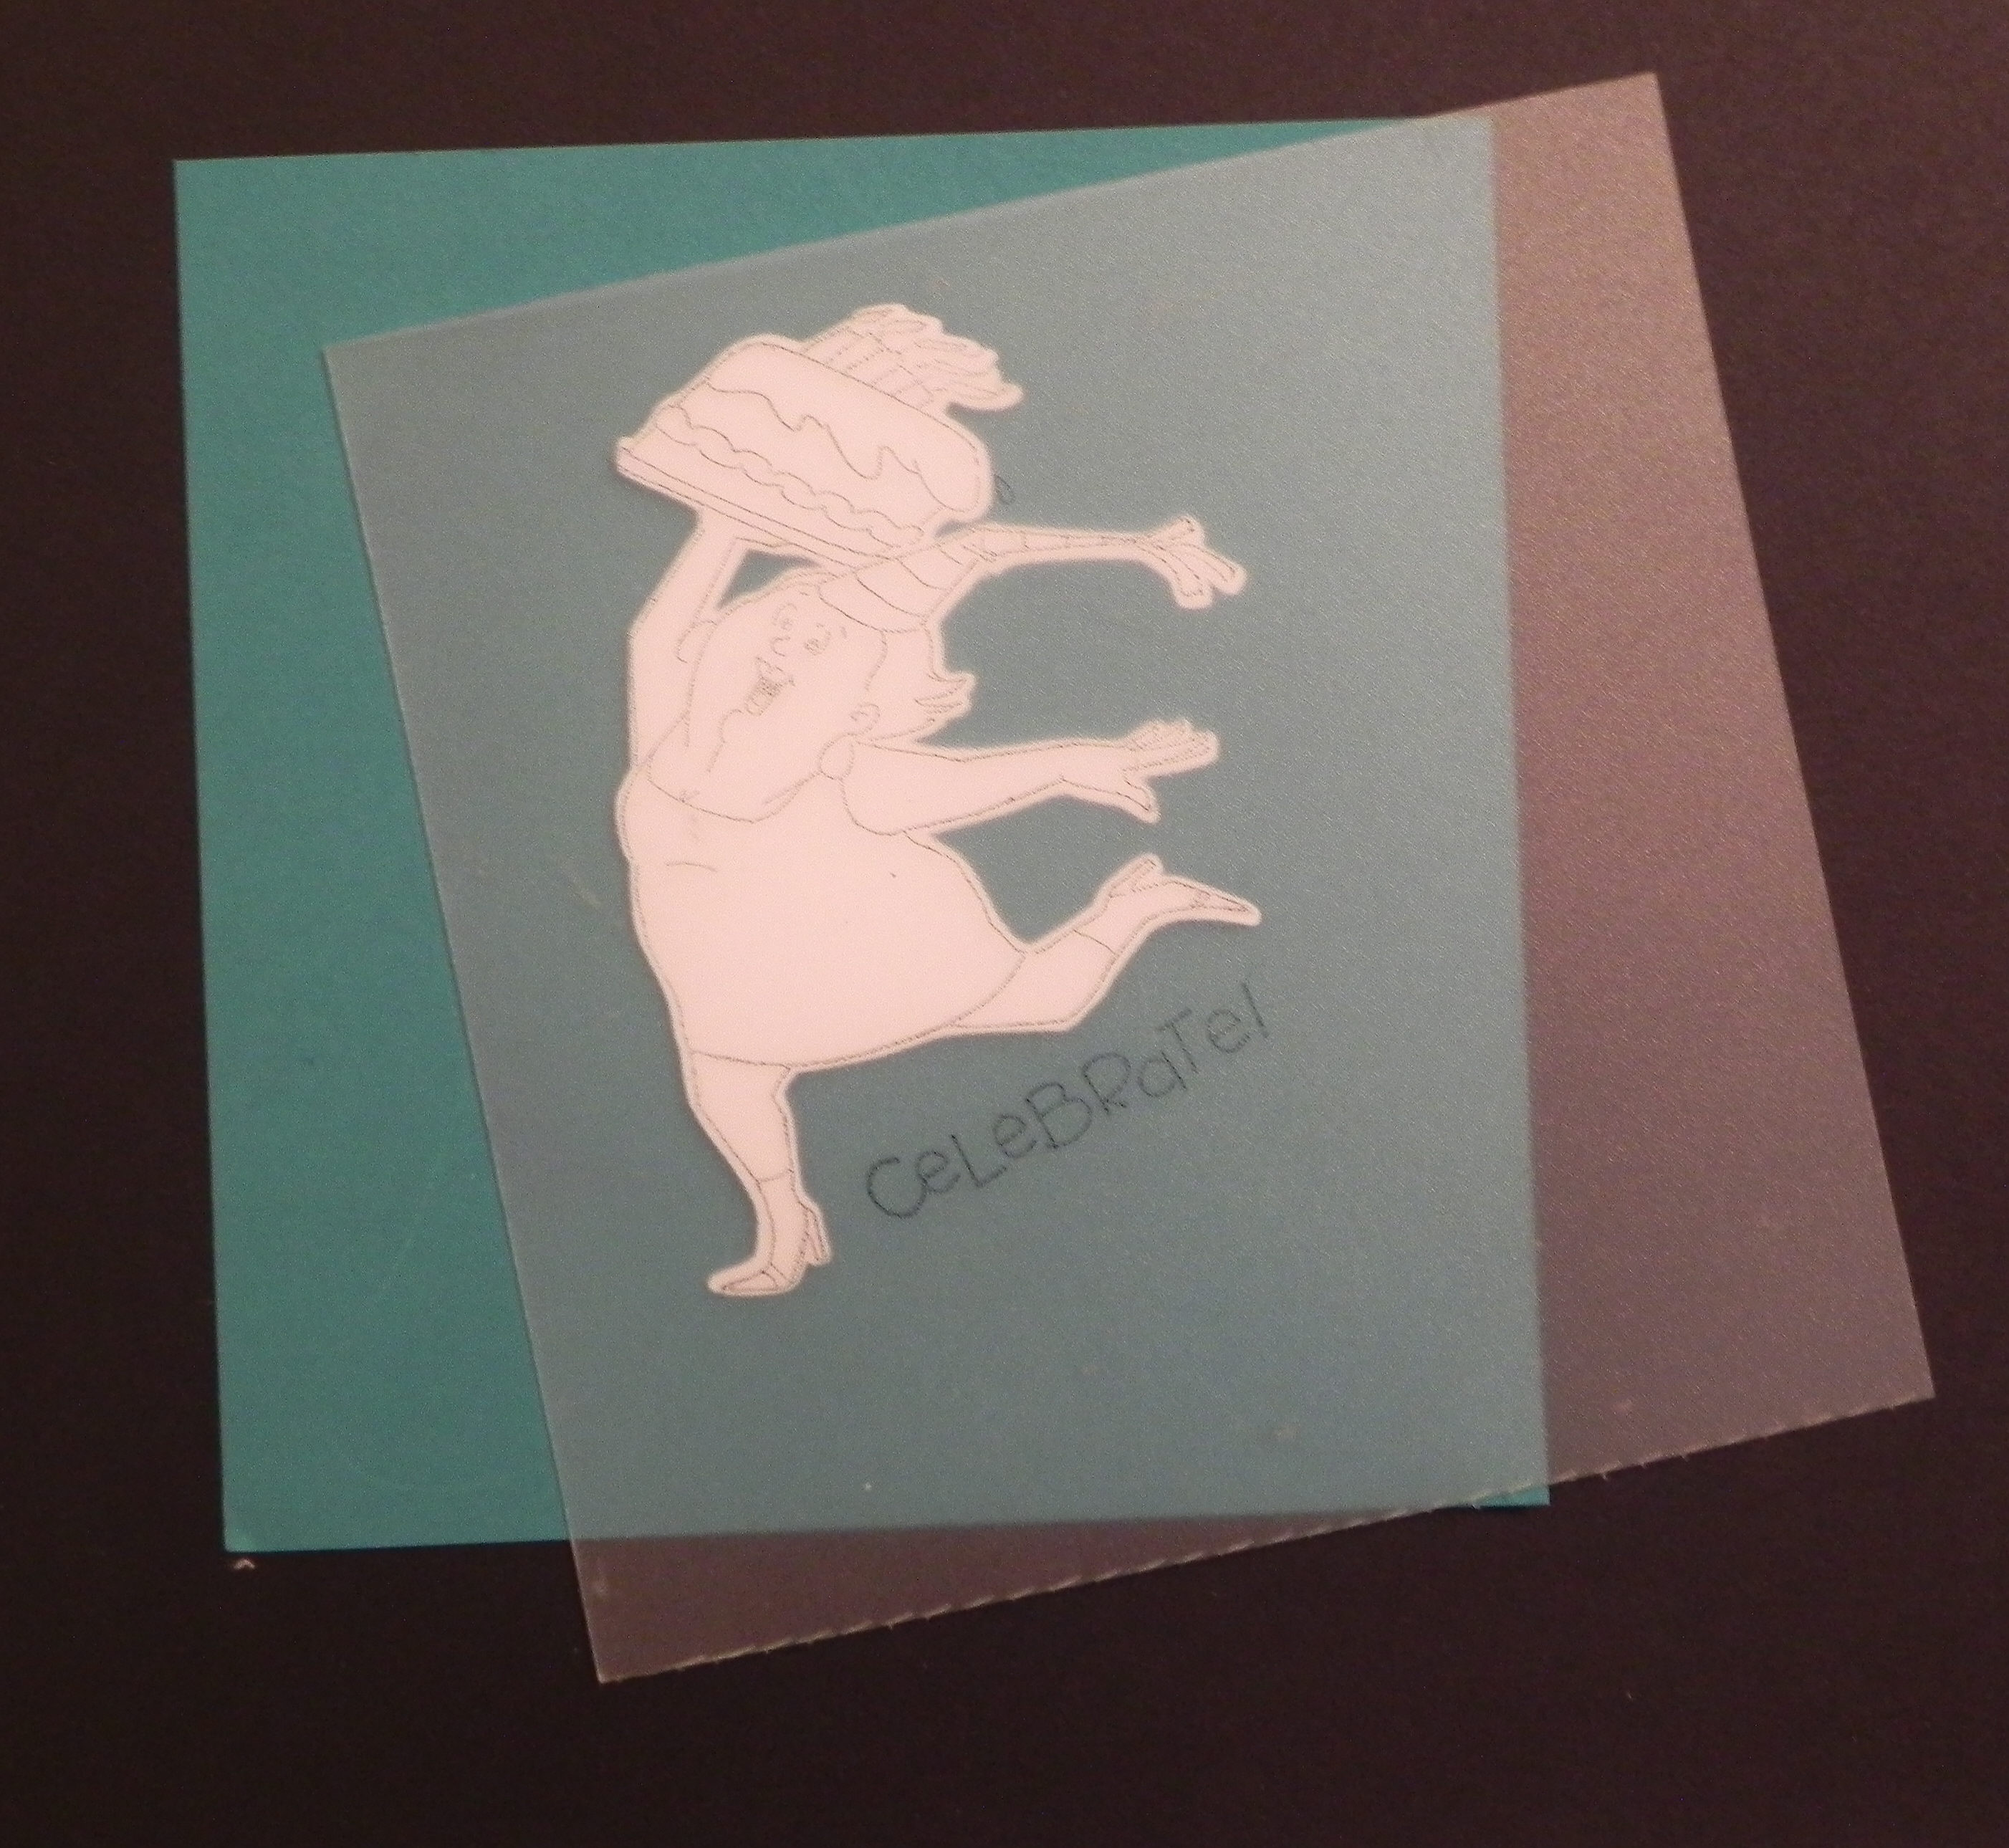
c. Take the negative of your die cut from step (a), and place it over the stamped image on the MISTI. Once you have the image lined up in the cut-out hole, tape this panel in place.
d. Place the die cut/shape you cut from step (a) back into the hole (over the original stamped image).

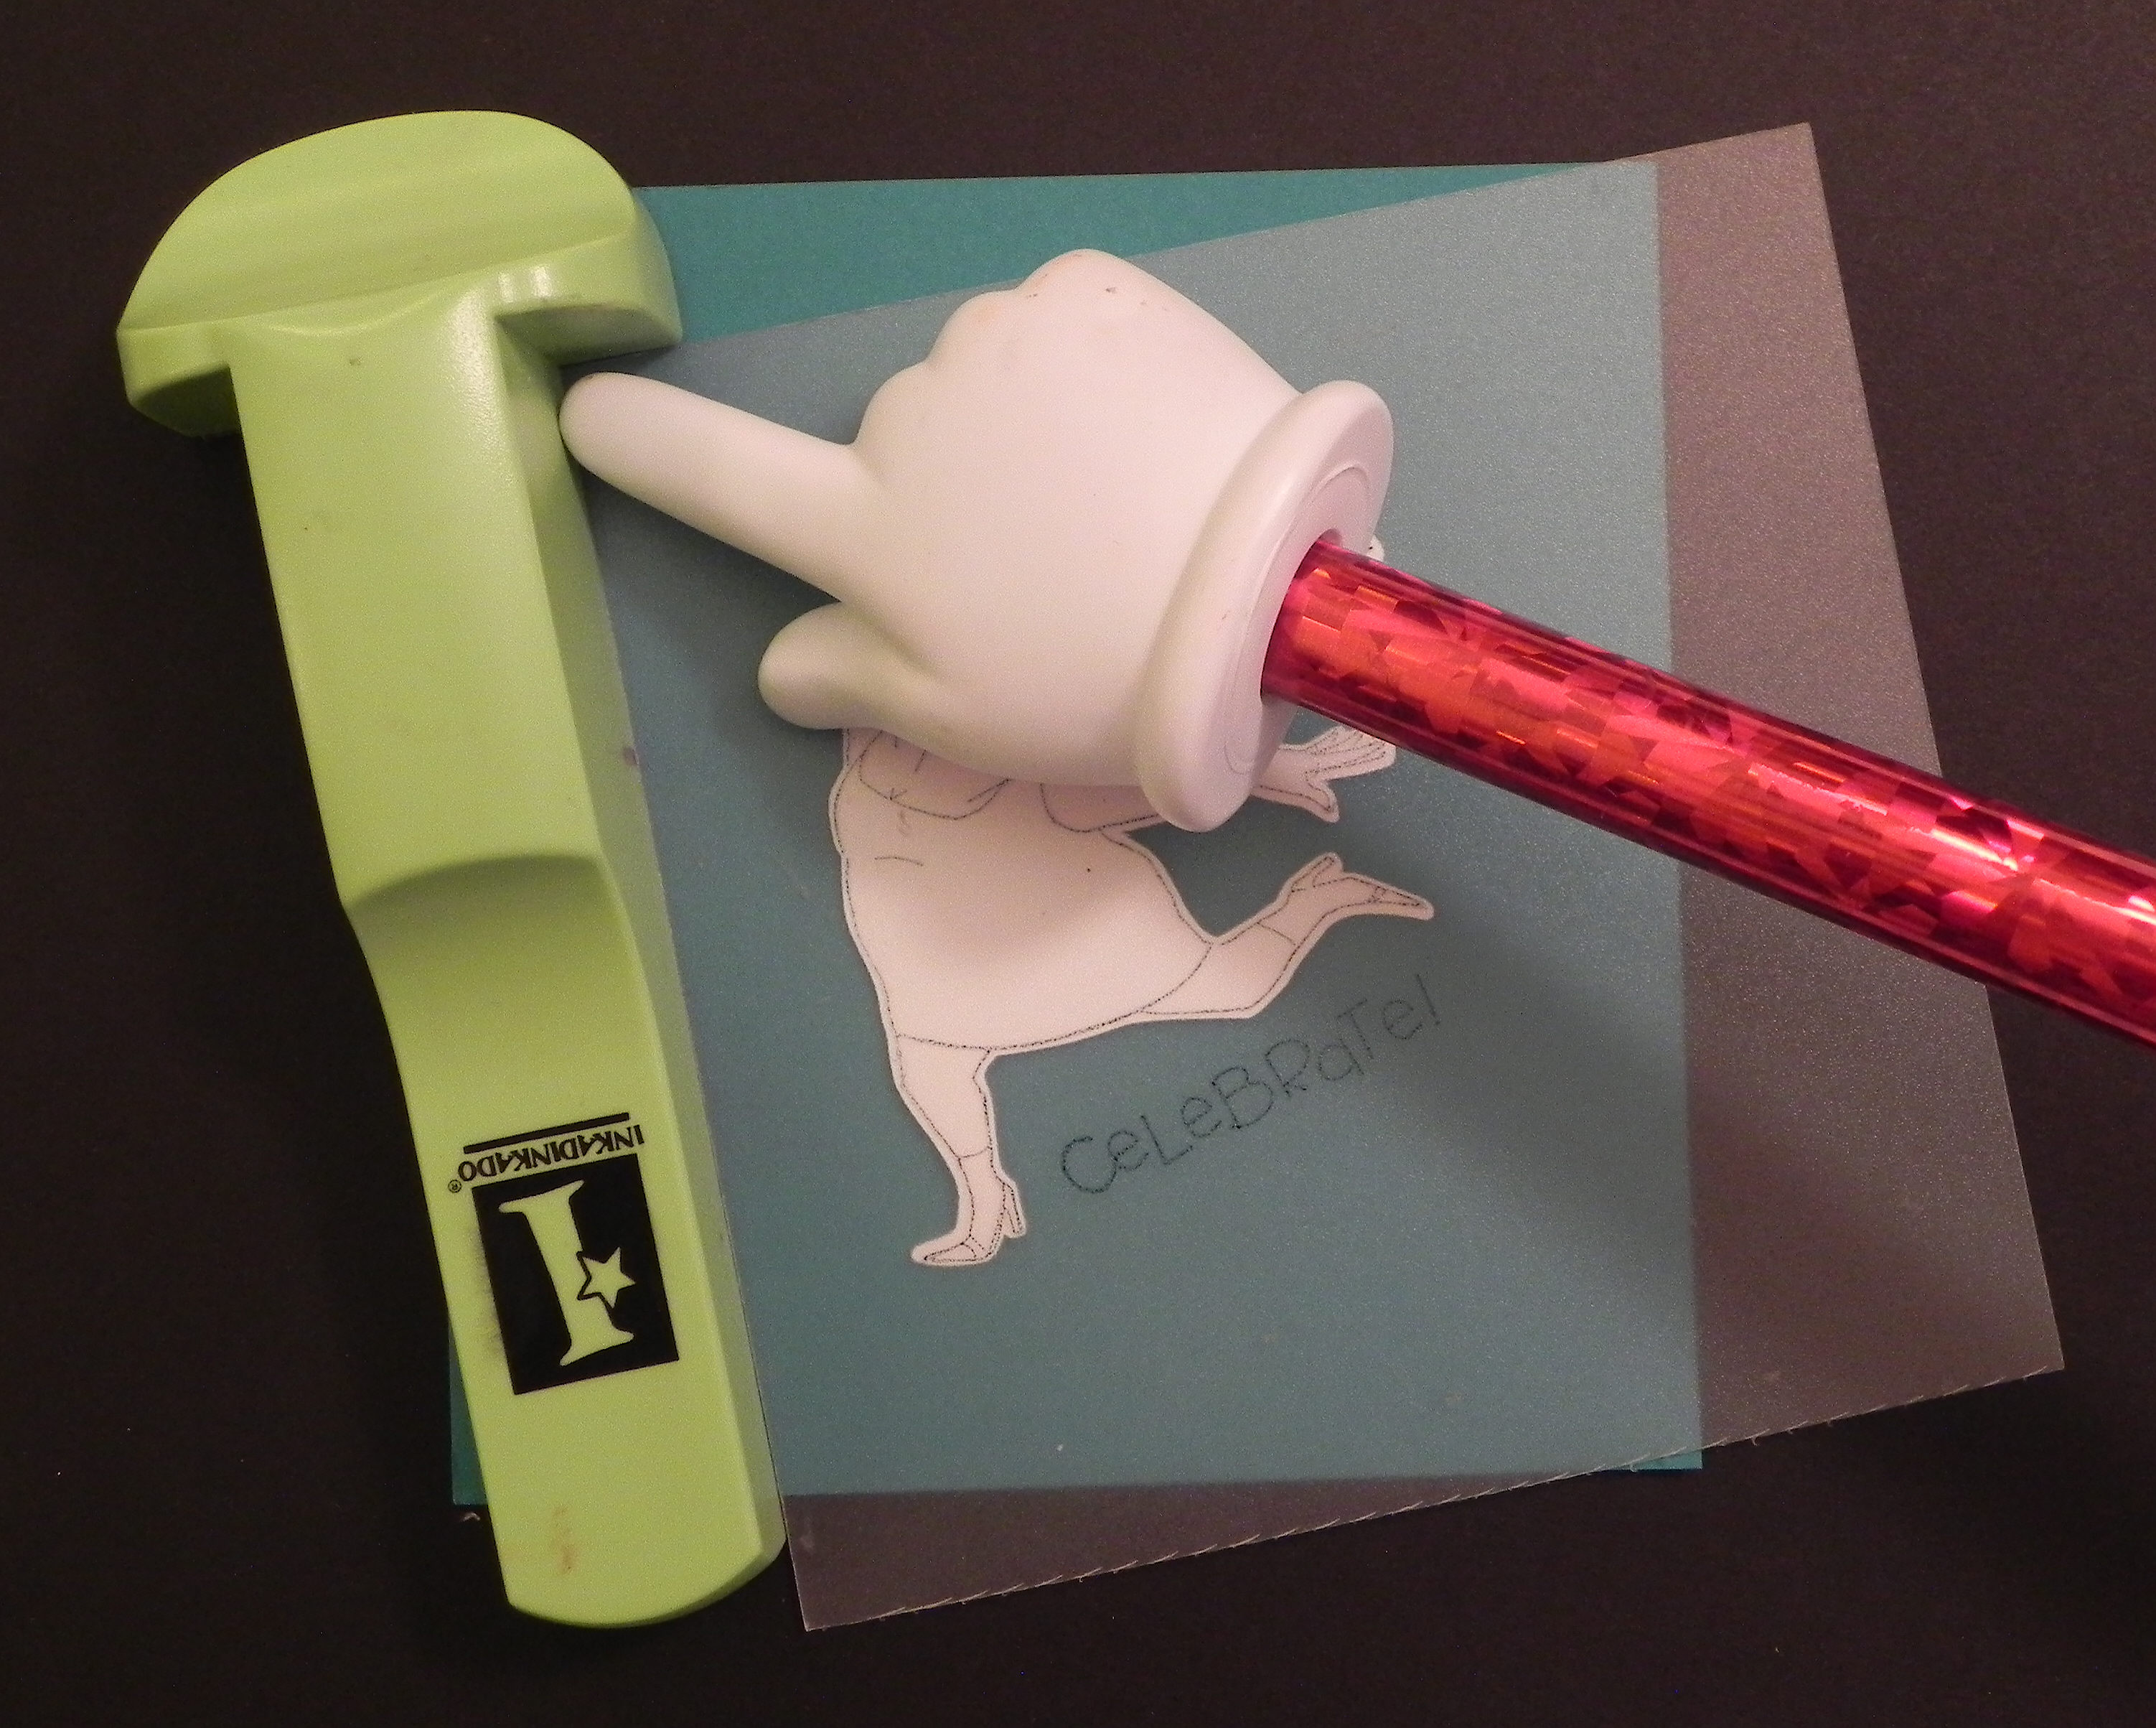
e. Stamp the image a second time.


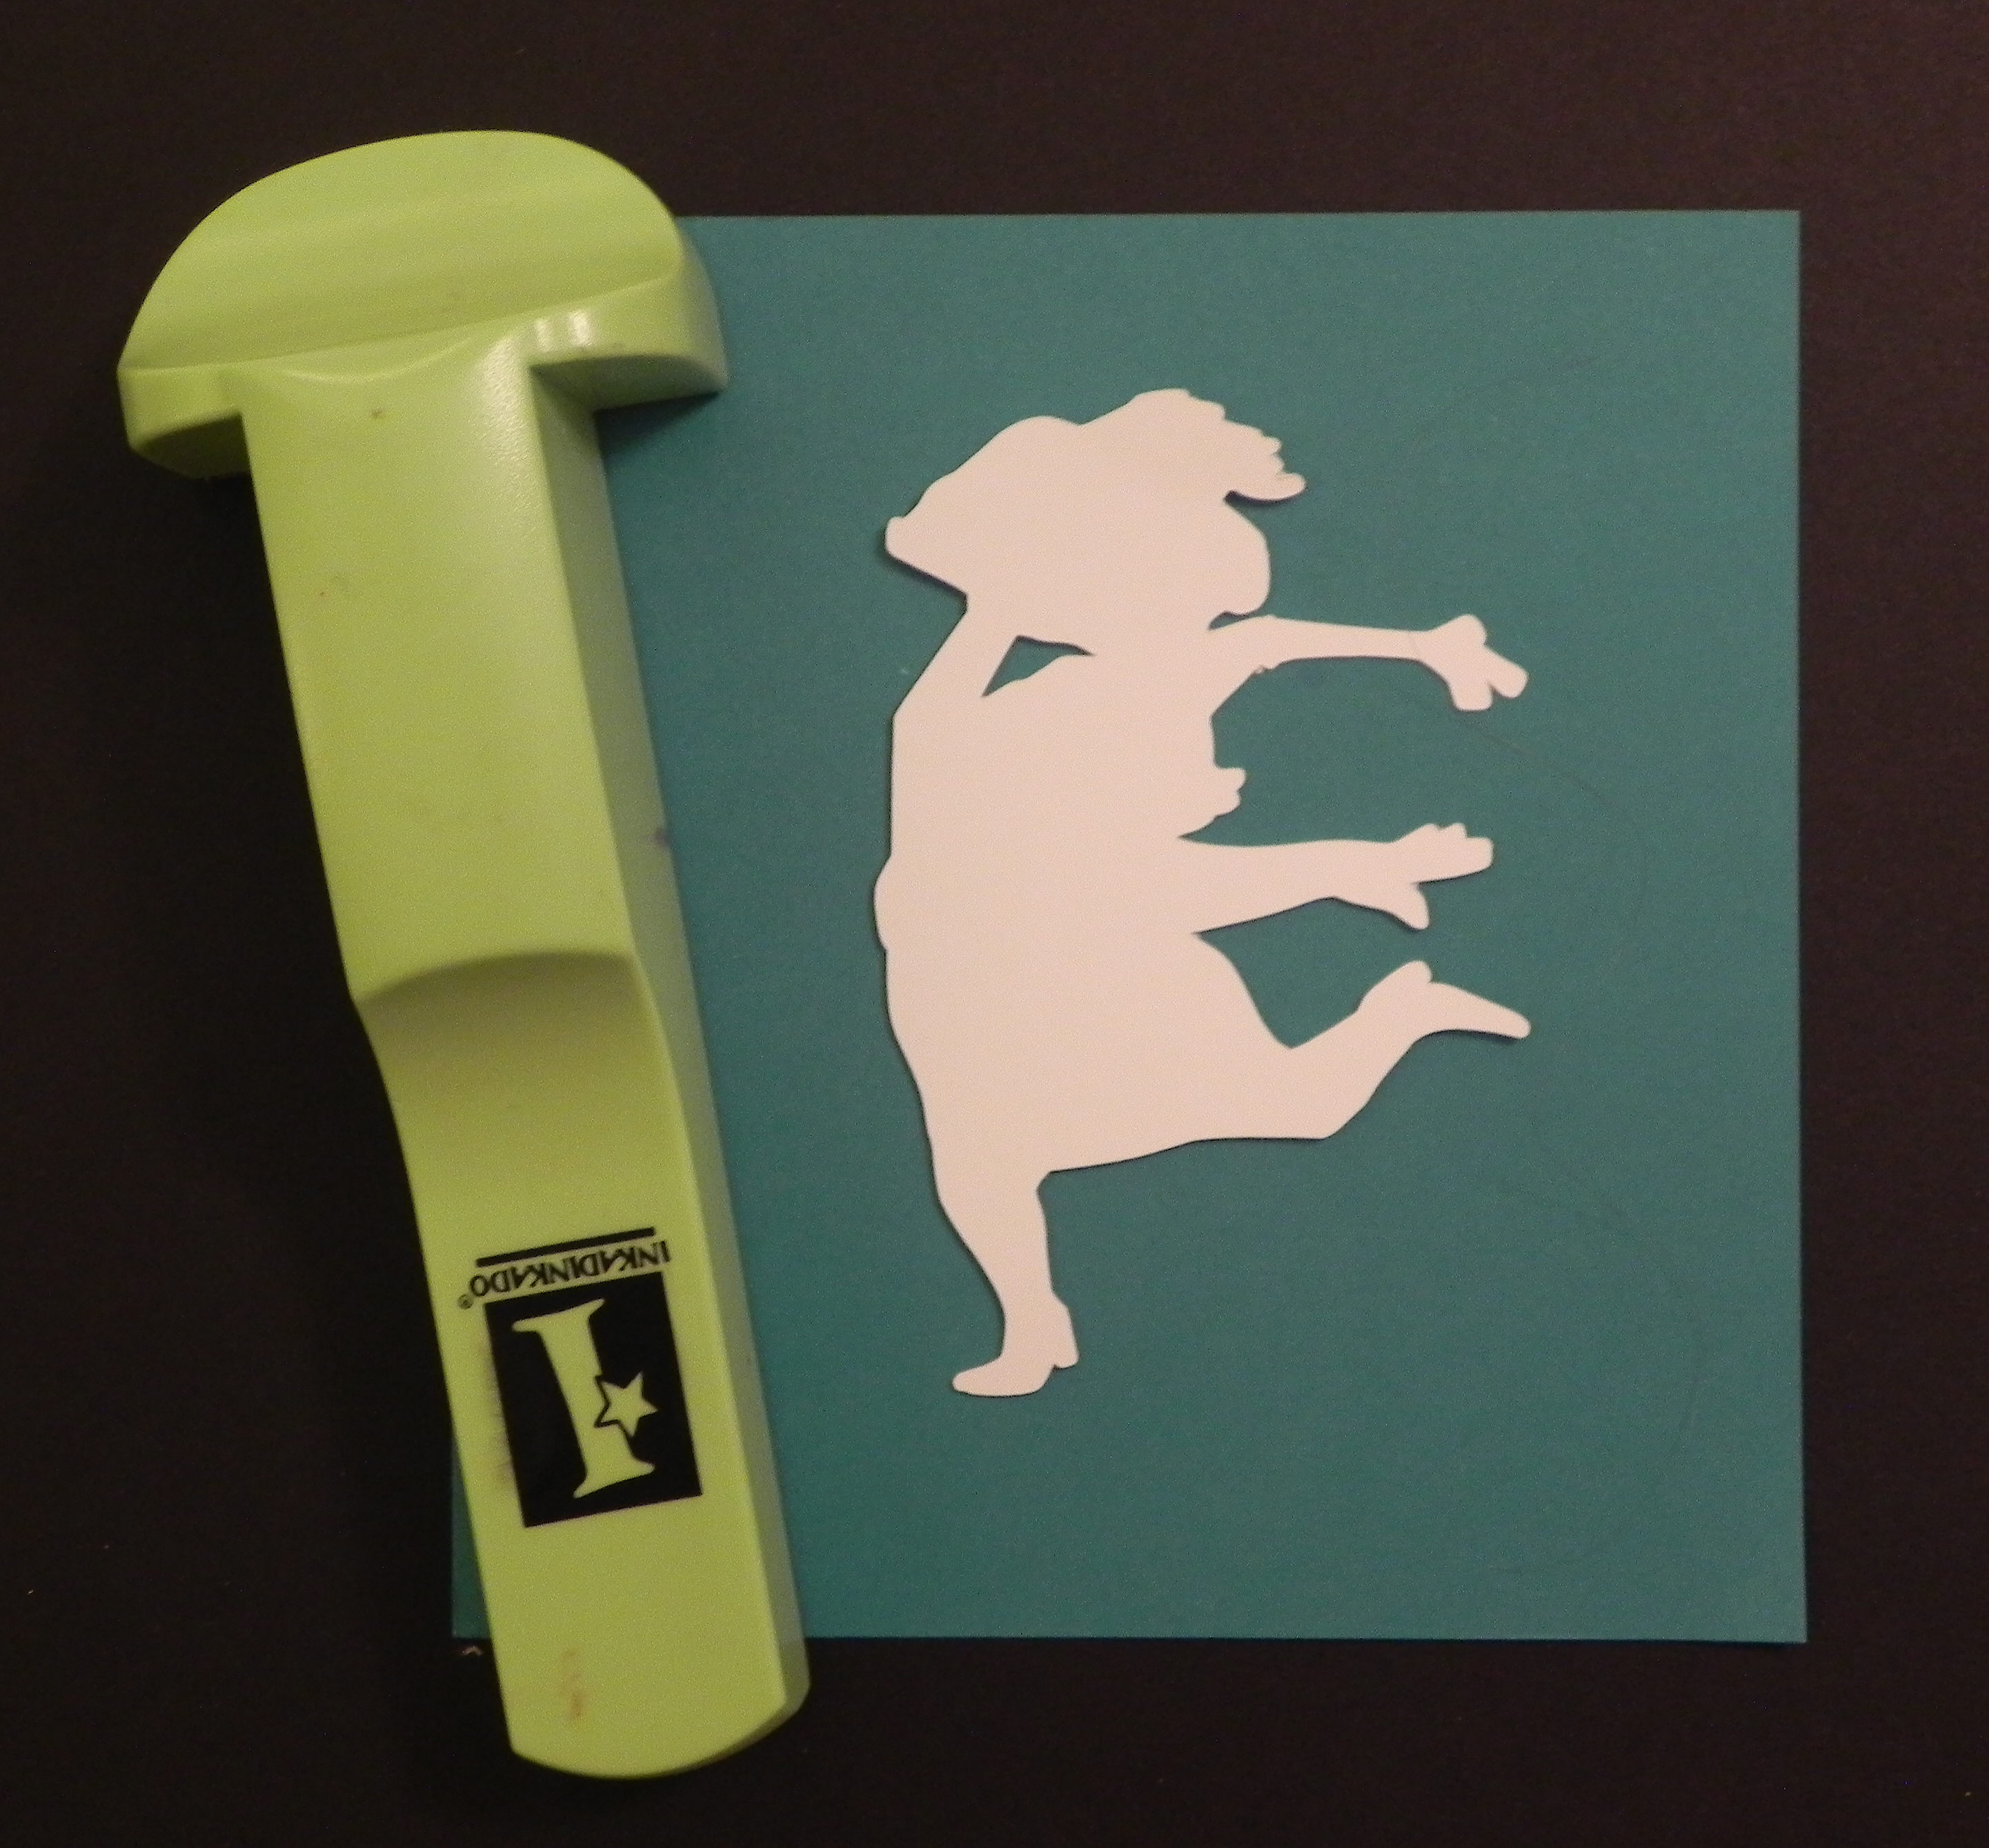
f. Remove the die cut with the stamped image.

Another tool that I use is a stamp-a-ma-jig. This stamp positioning tool can be used with wood mounted stamps as well as stamps placed temporarily on acrylic blocks.
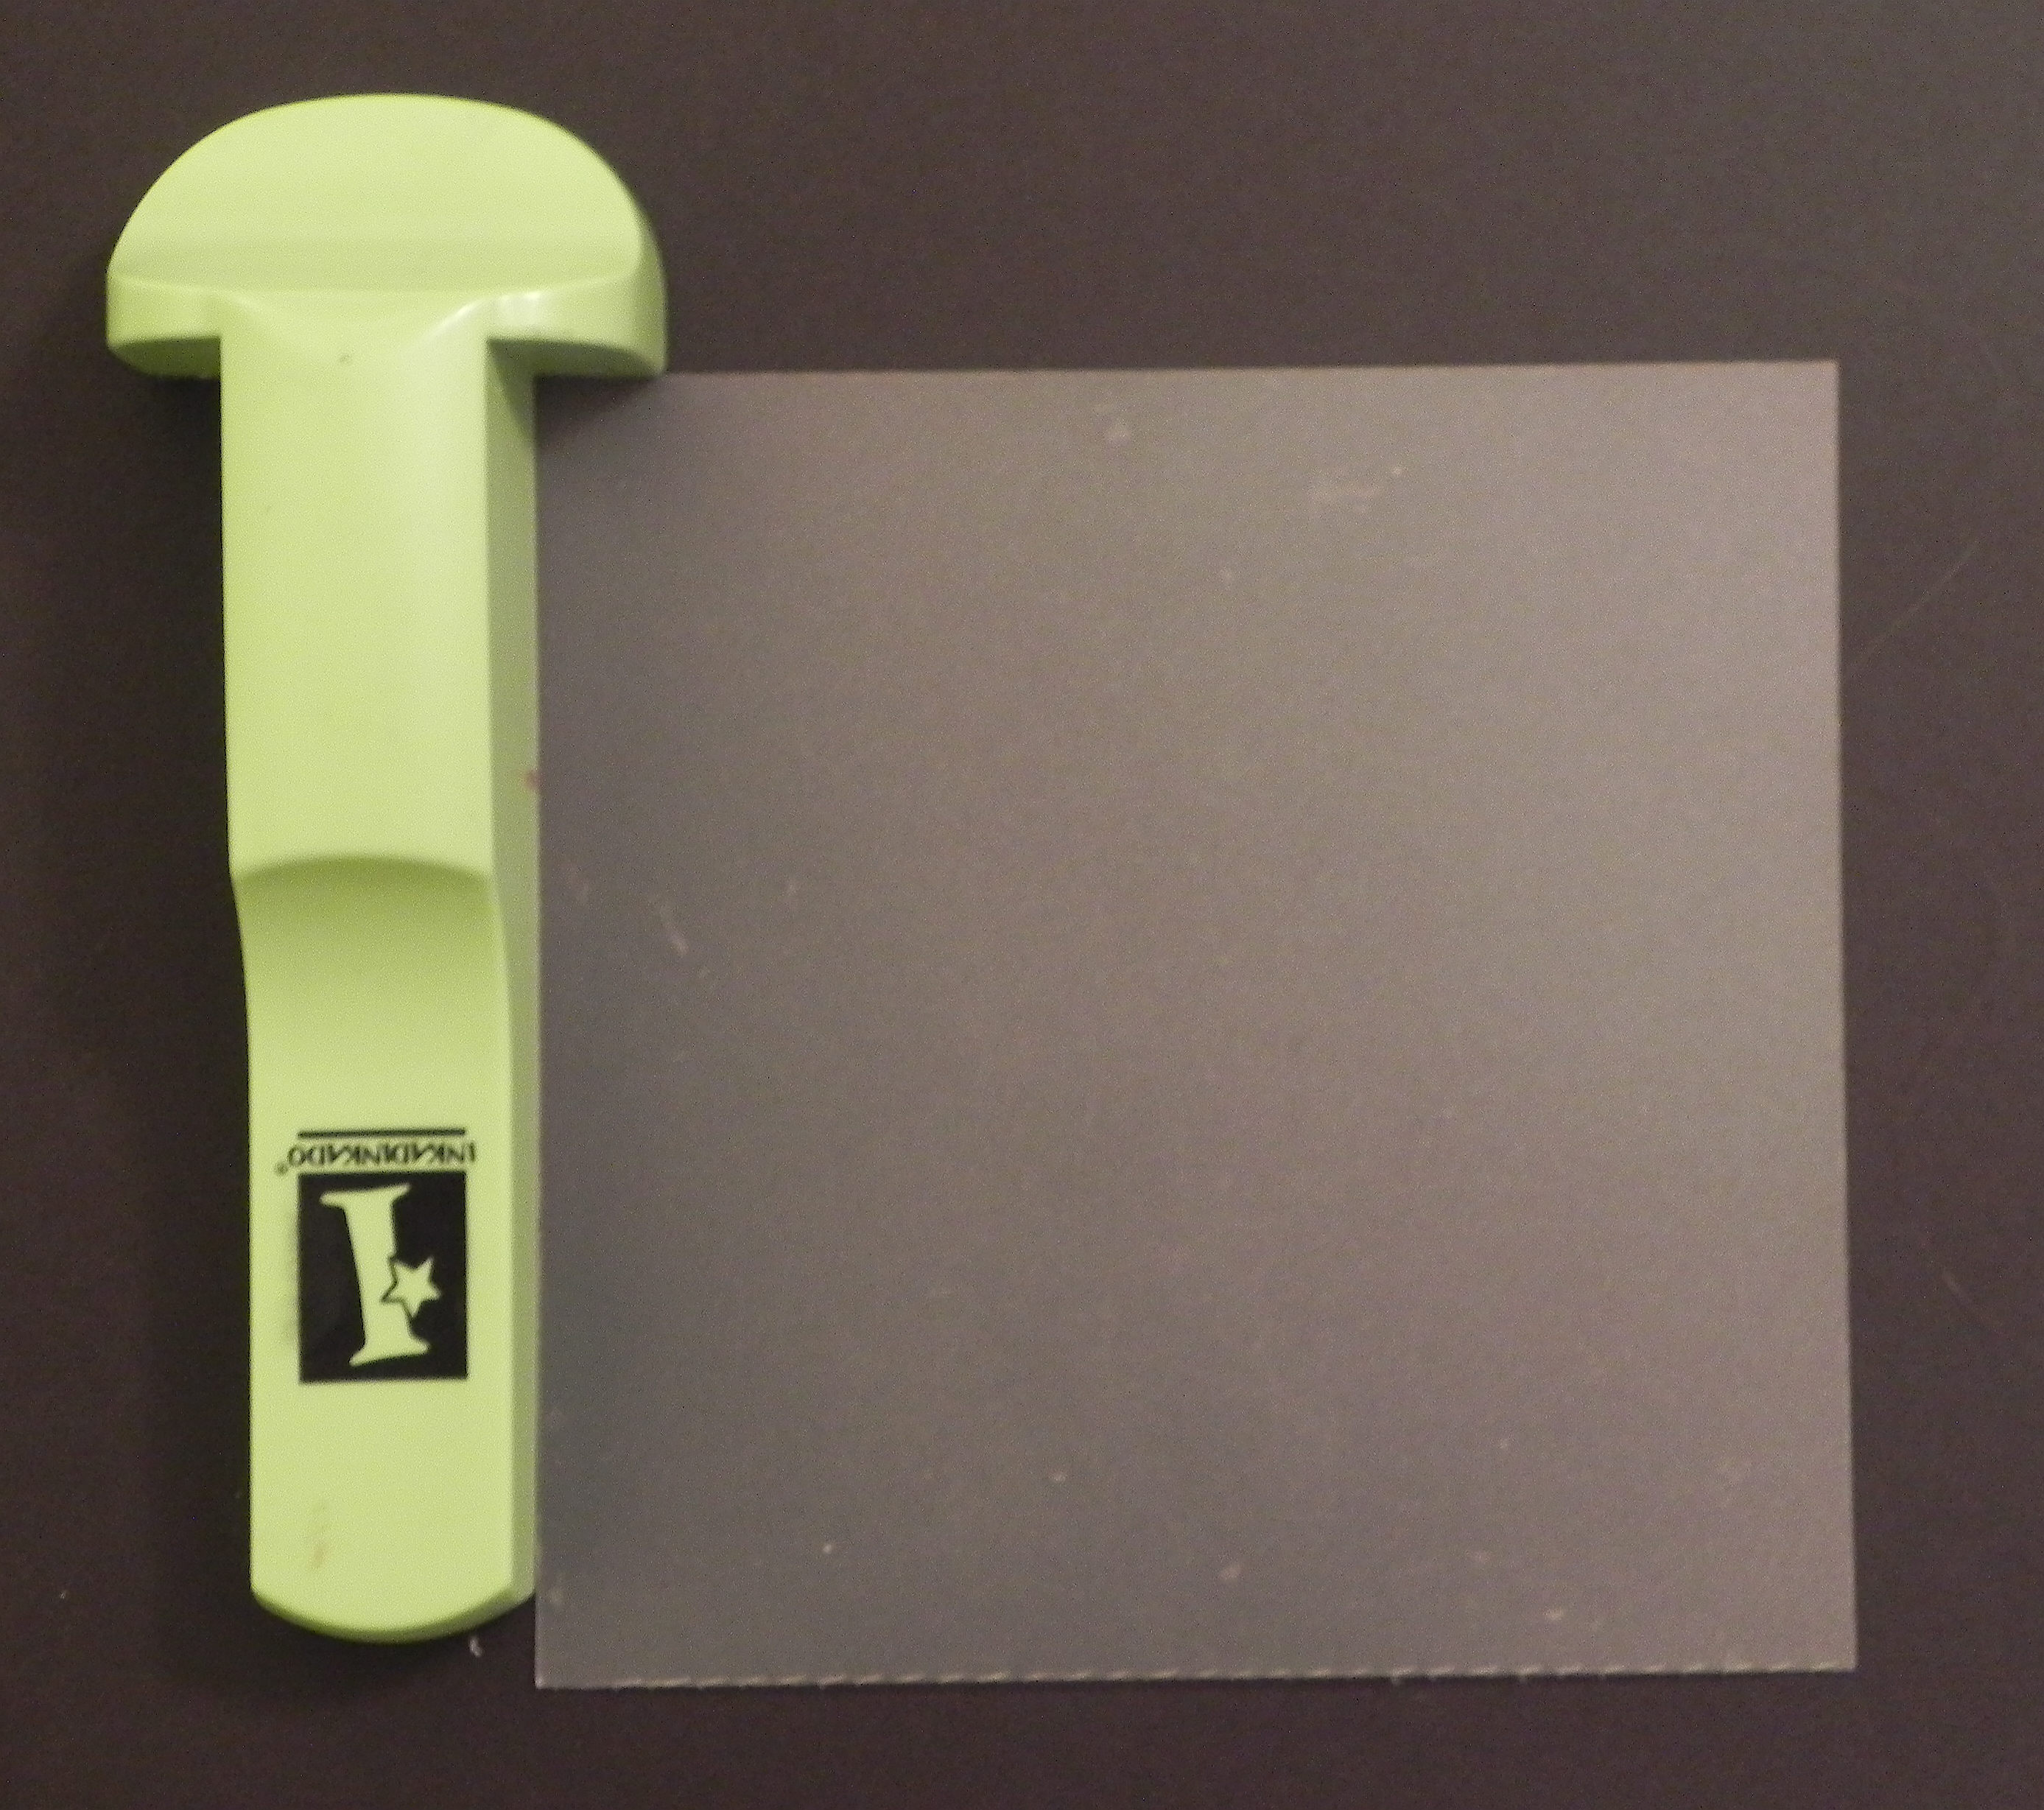
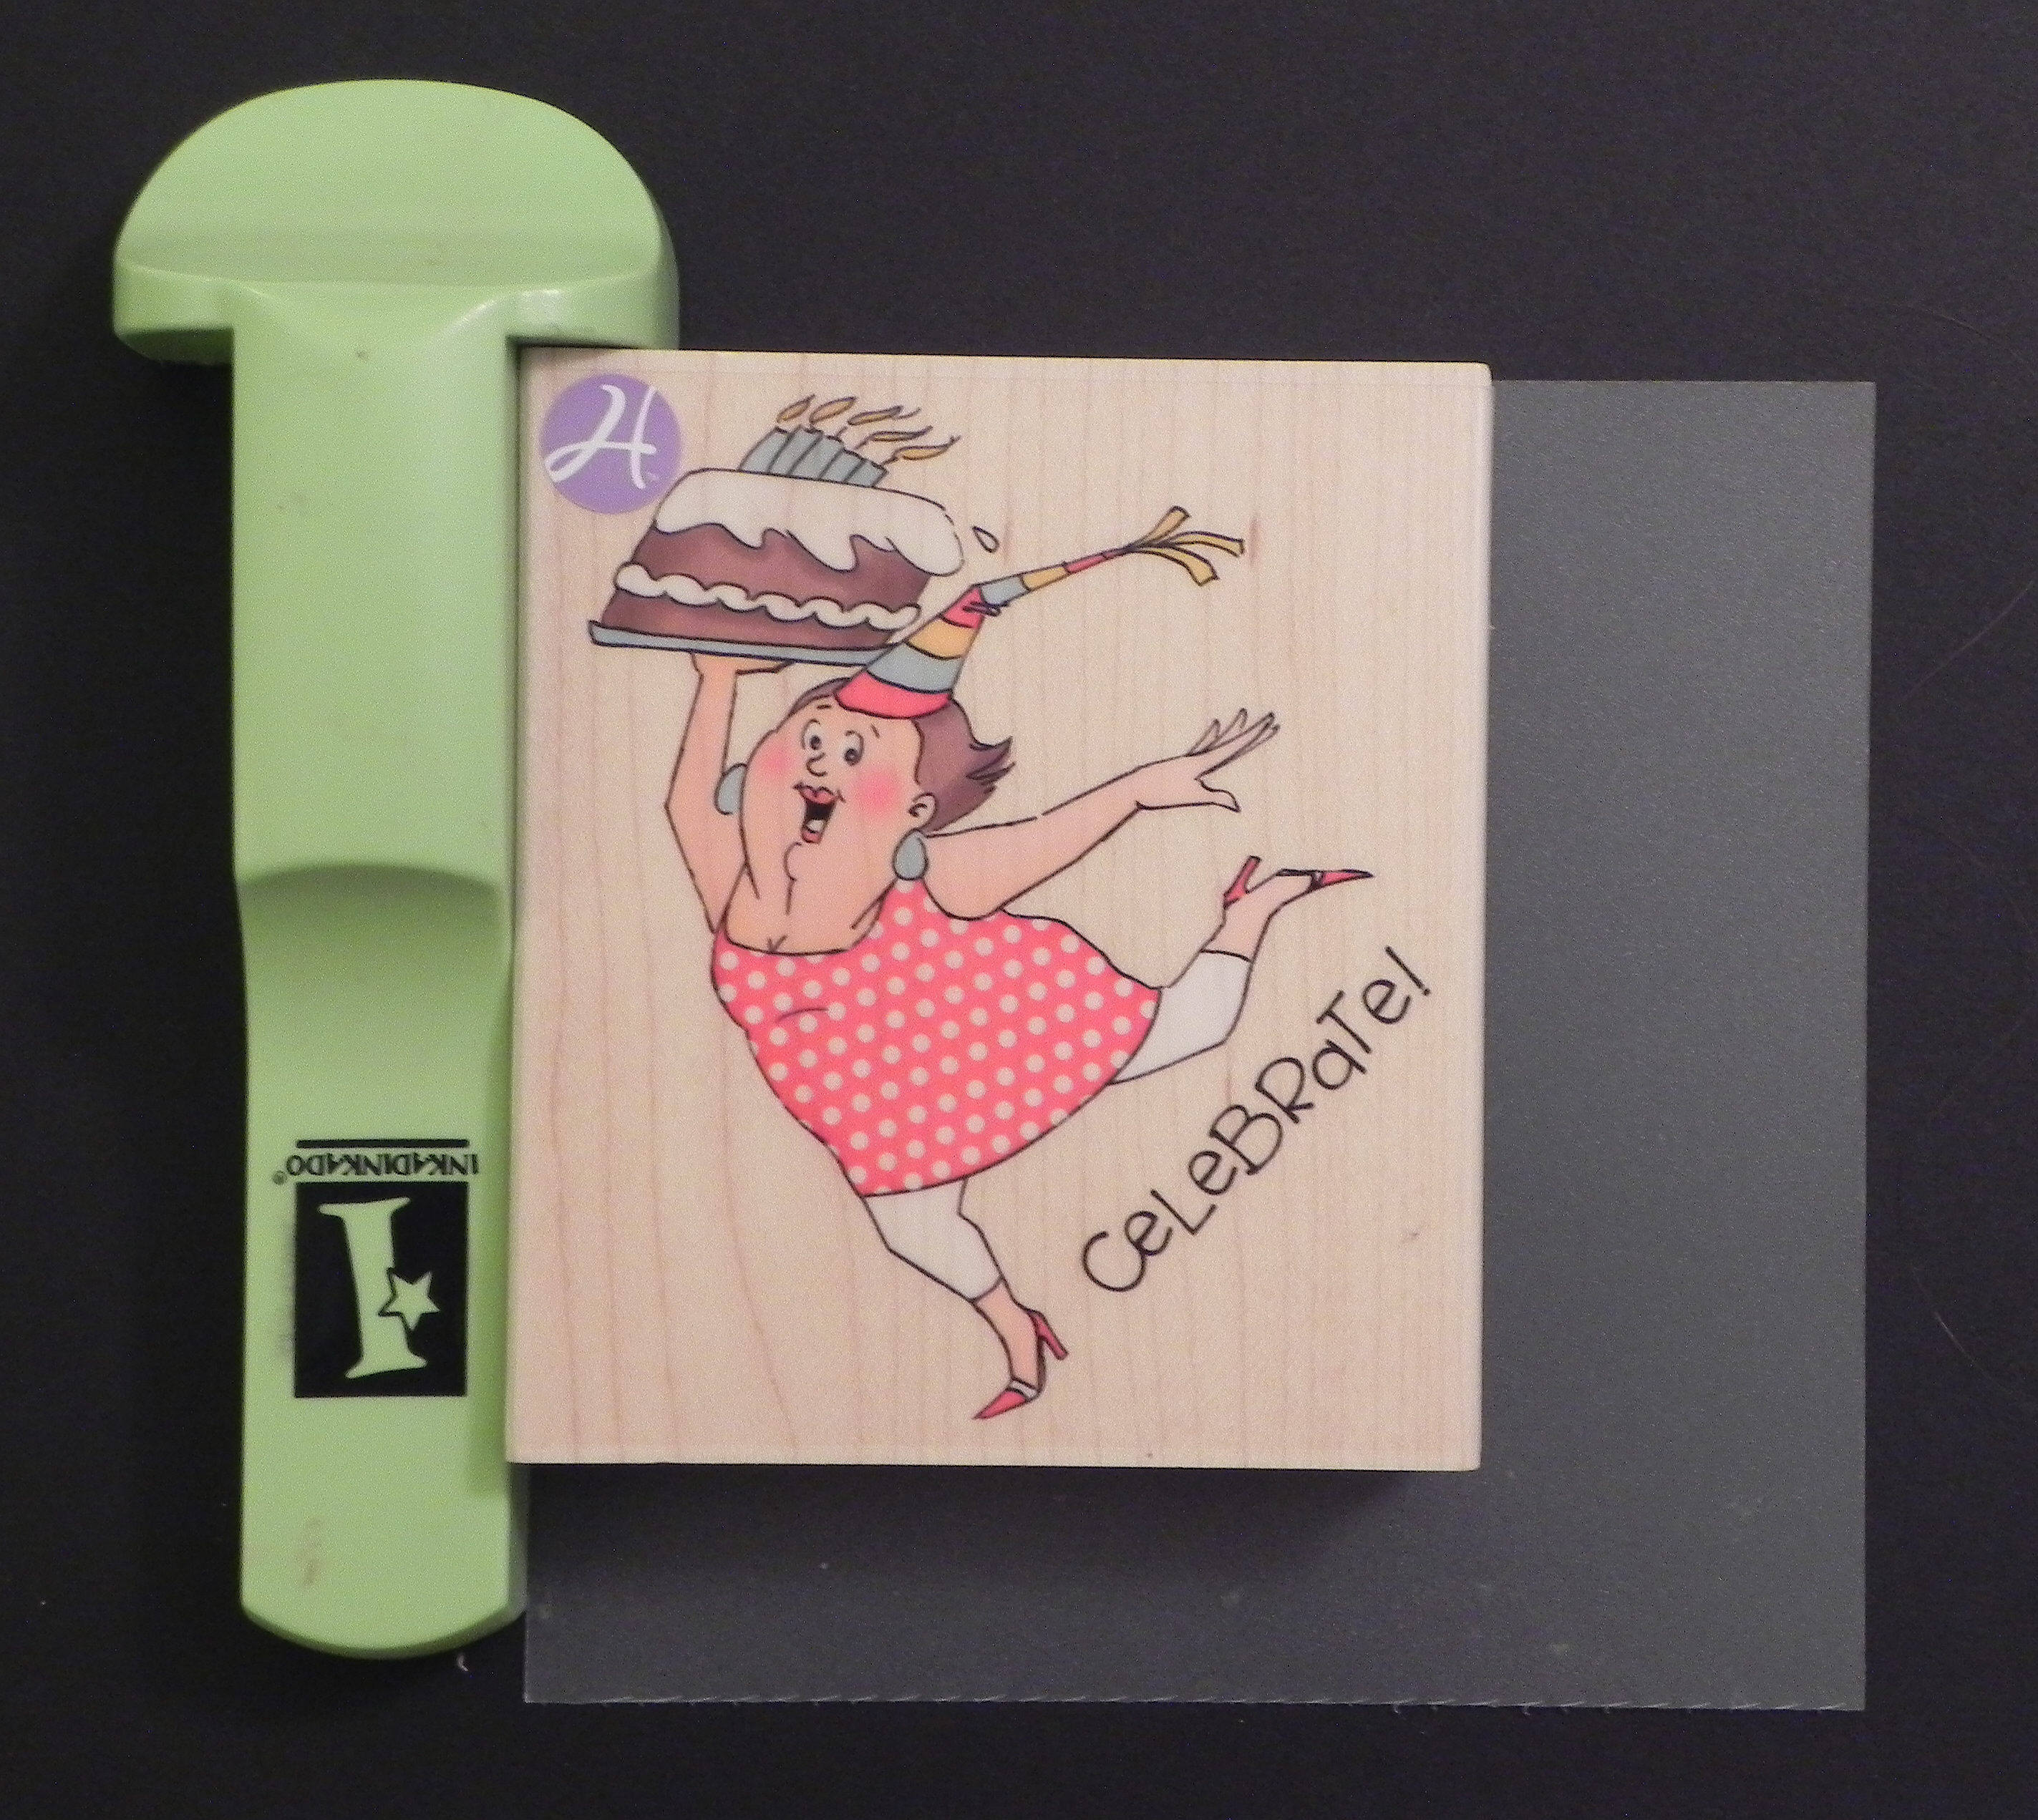
a. Cut out your shape. Adhere this shape to a piece of scrap paper with removable adhesive.

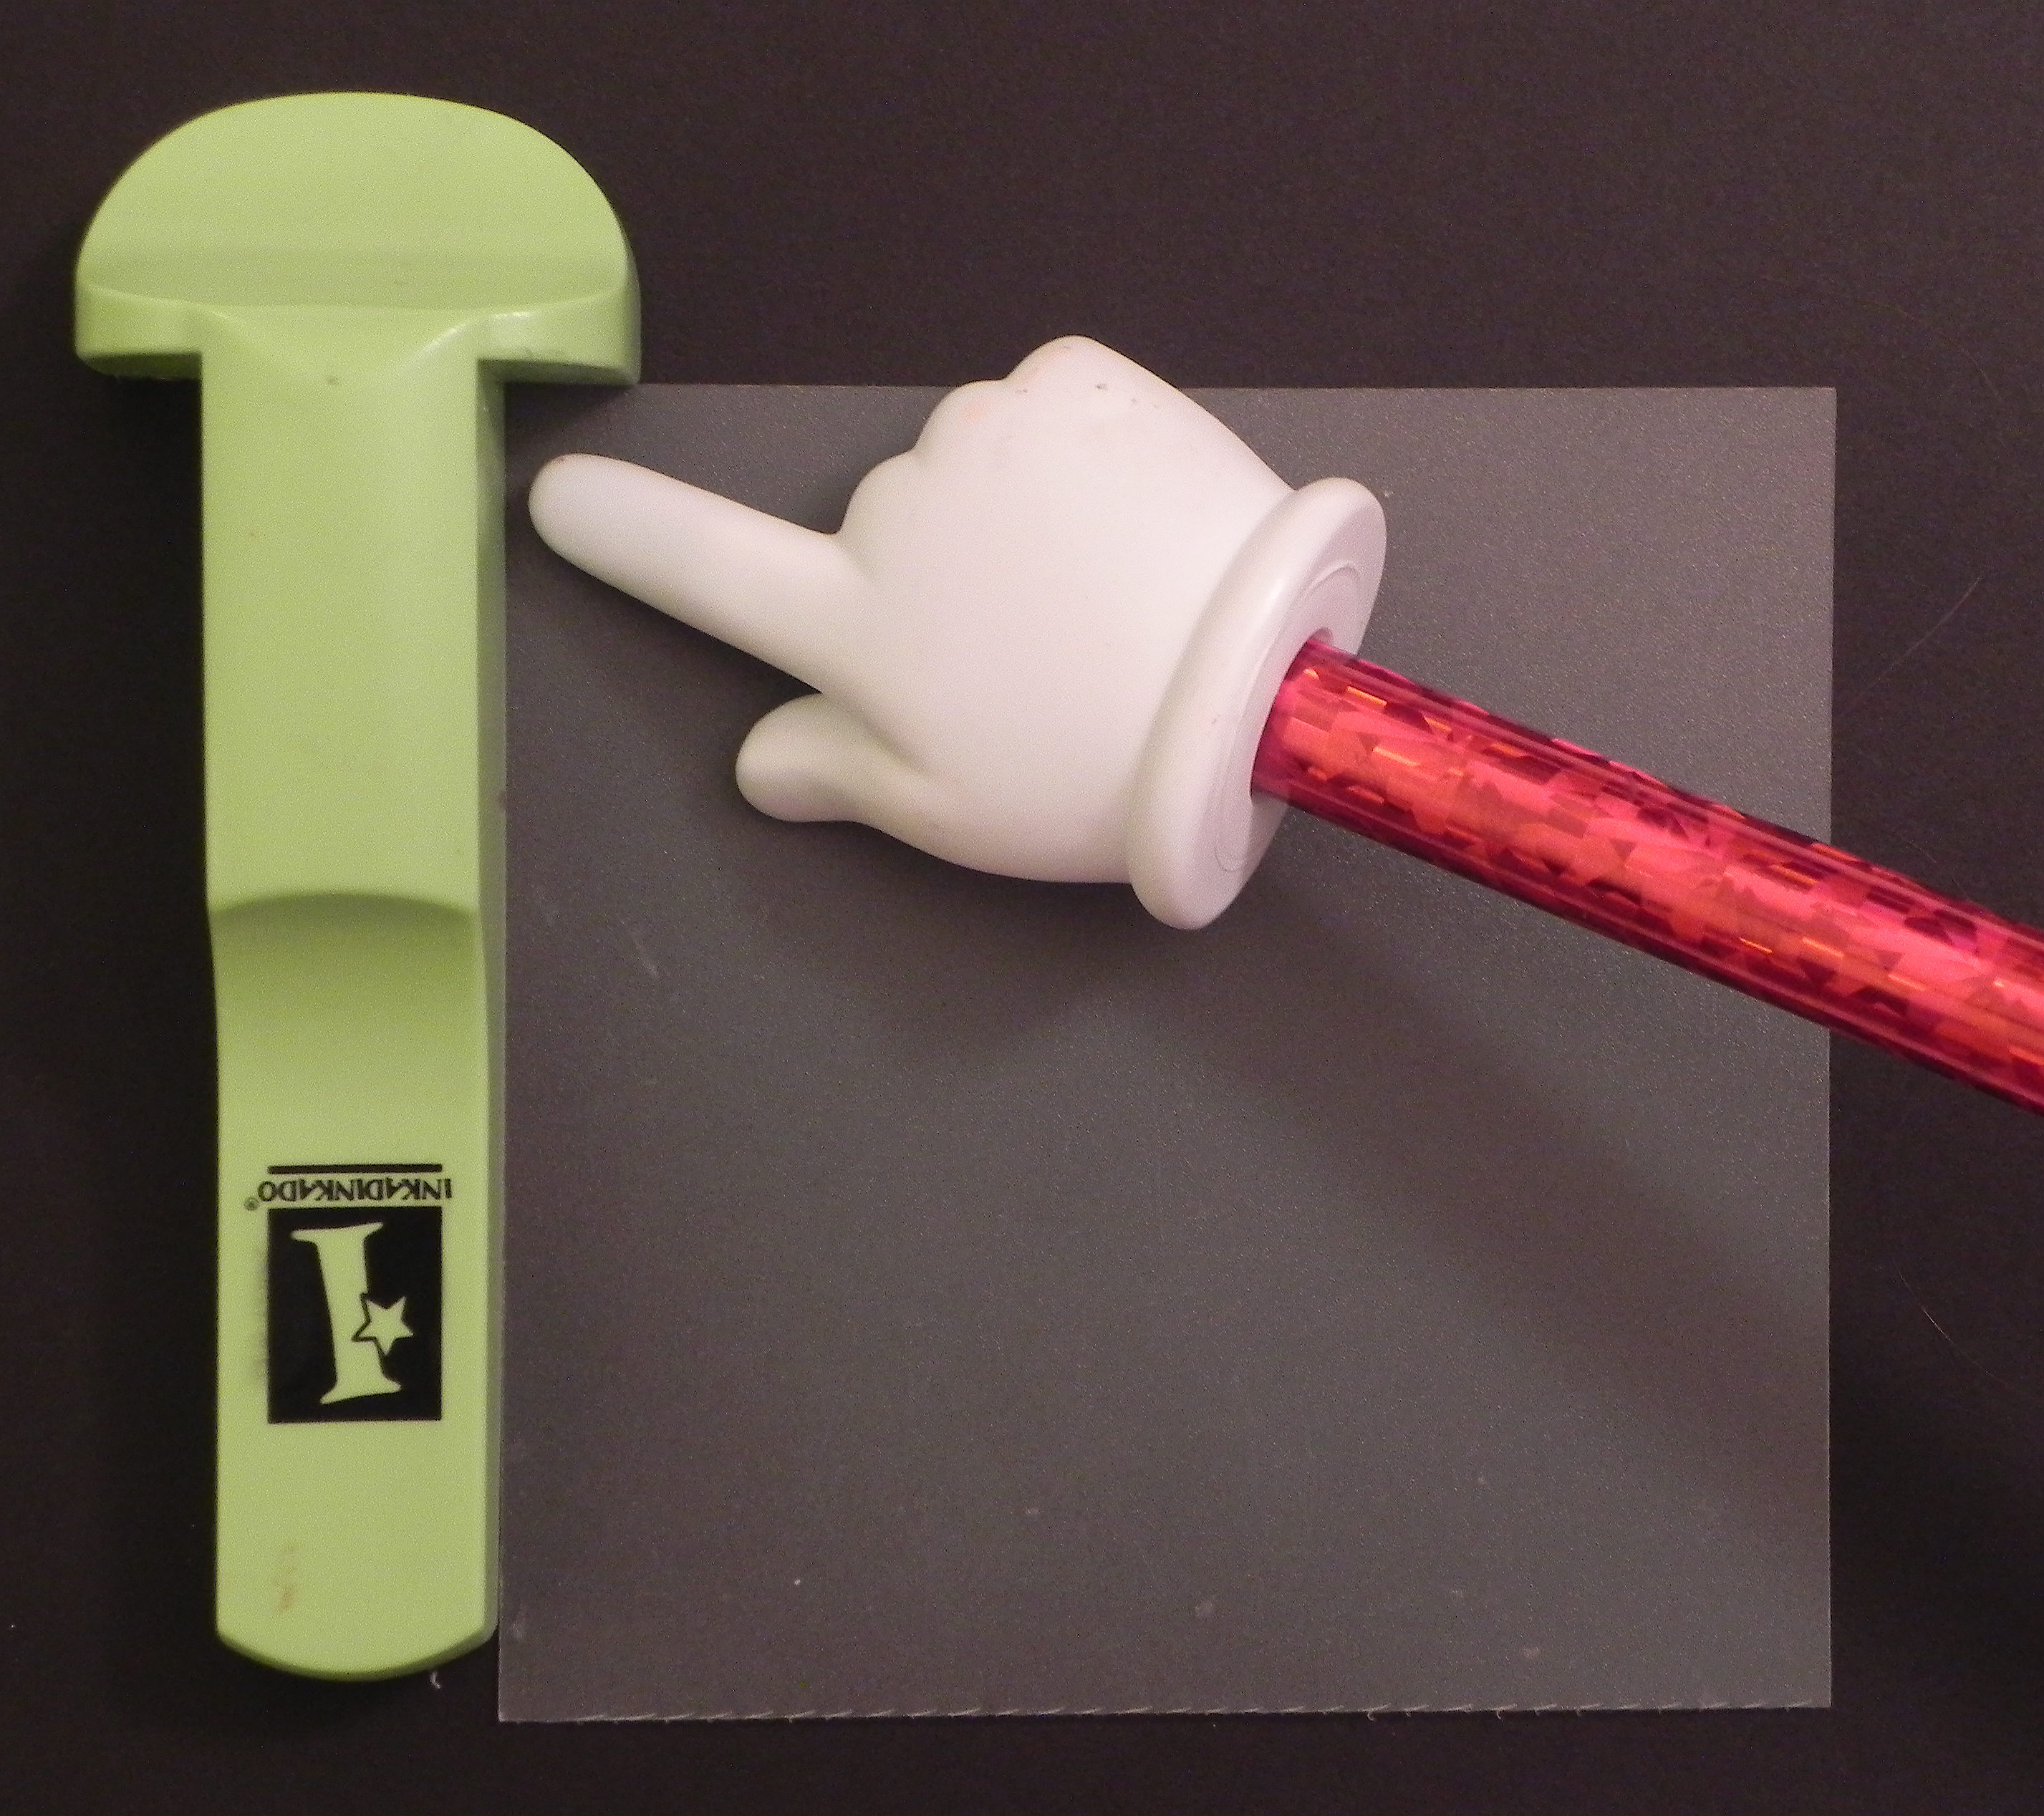
b. Place the clear, positioner sheet that came with your stamp-a-ma-jig in the corner of the tool. Make sure it lines up perfectly square.
Check alignment here and here
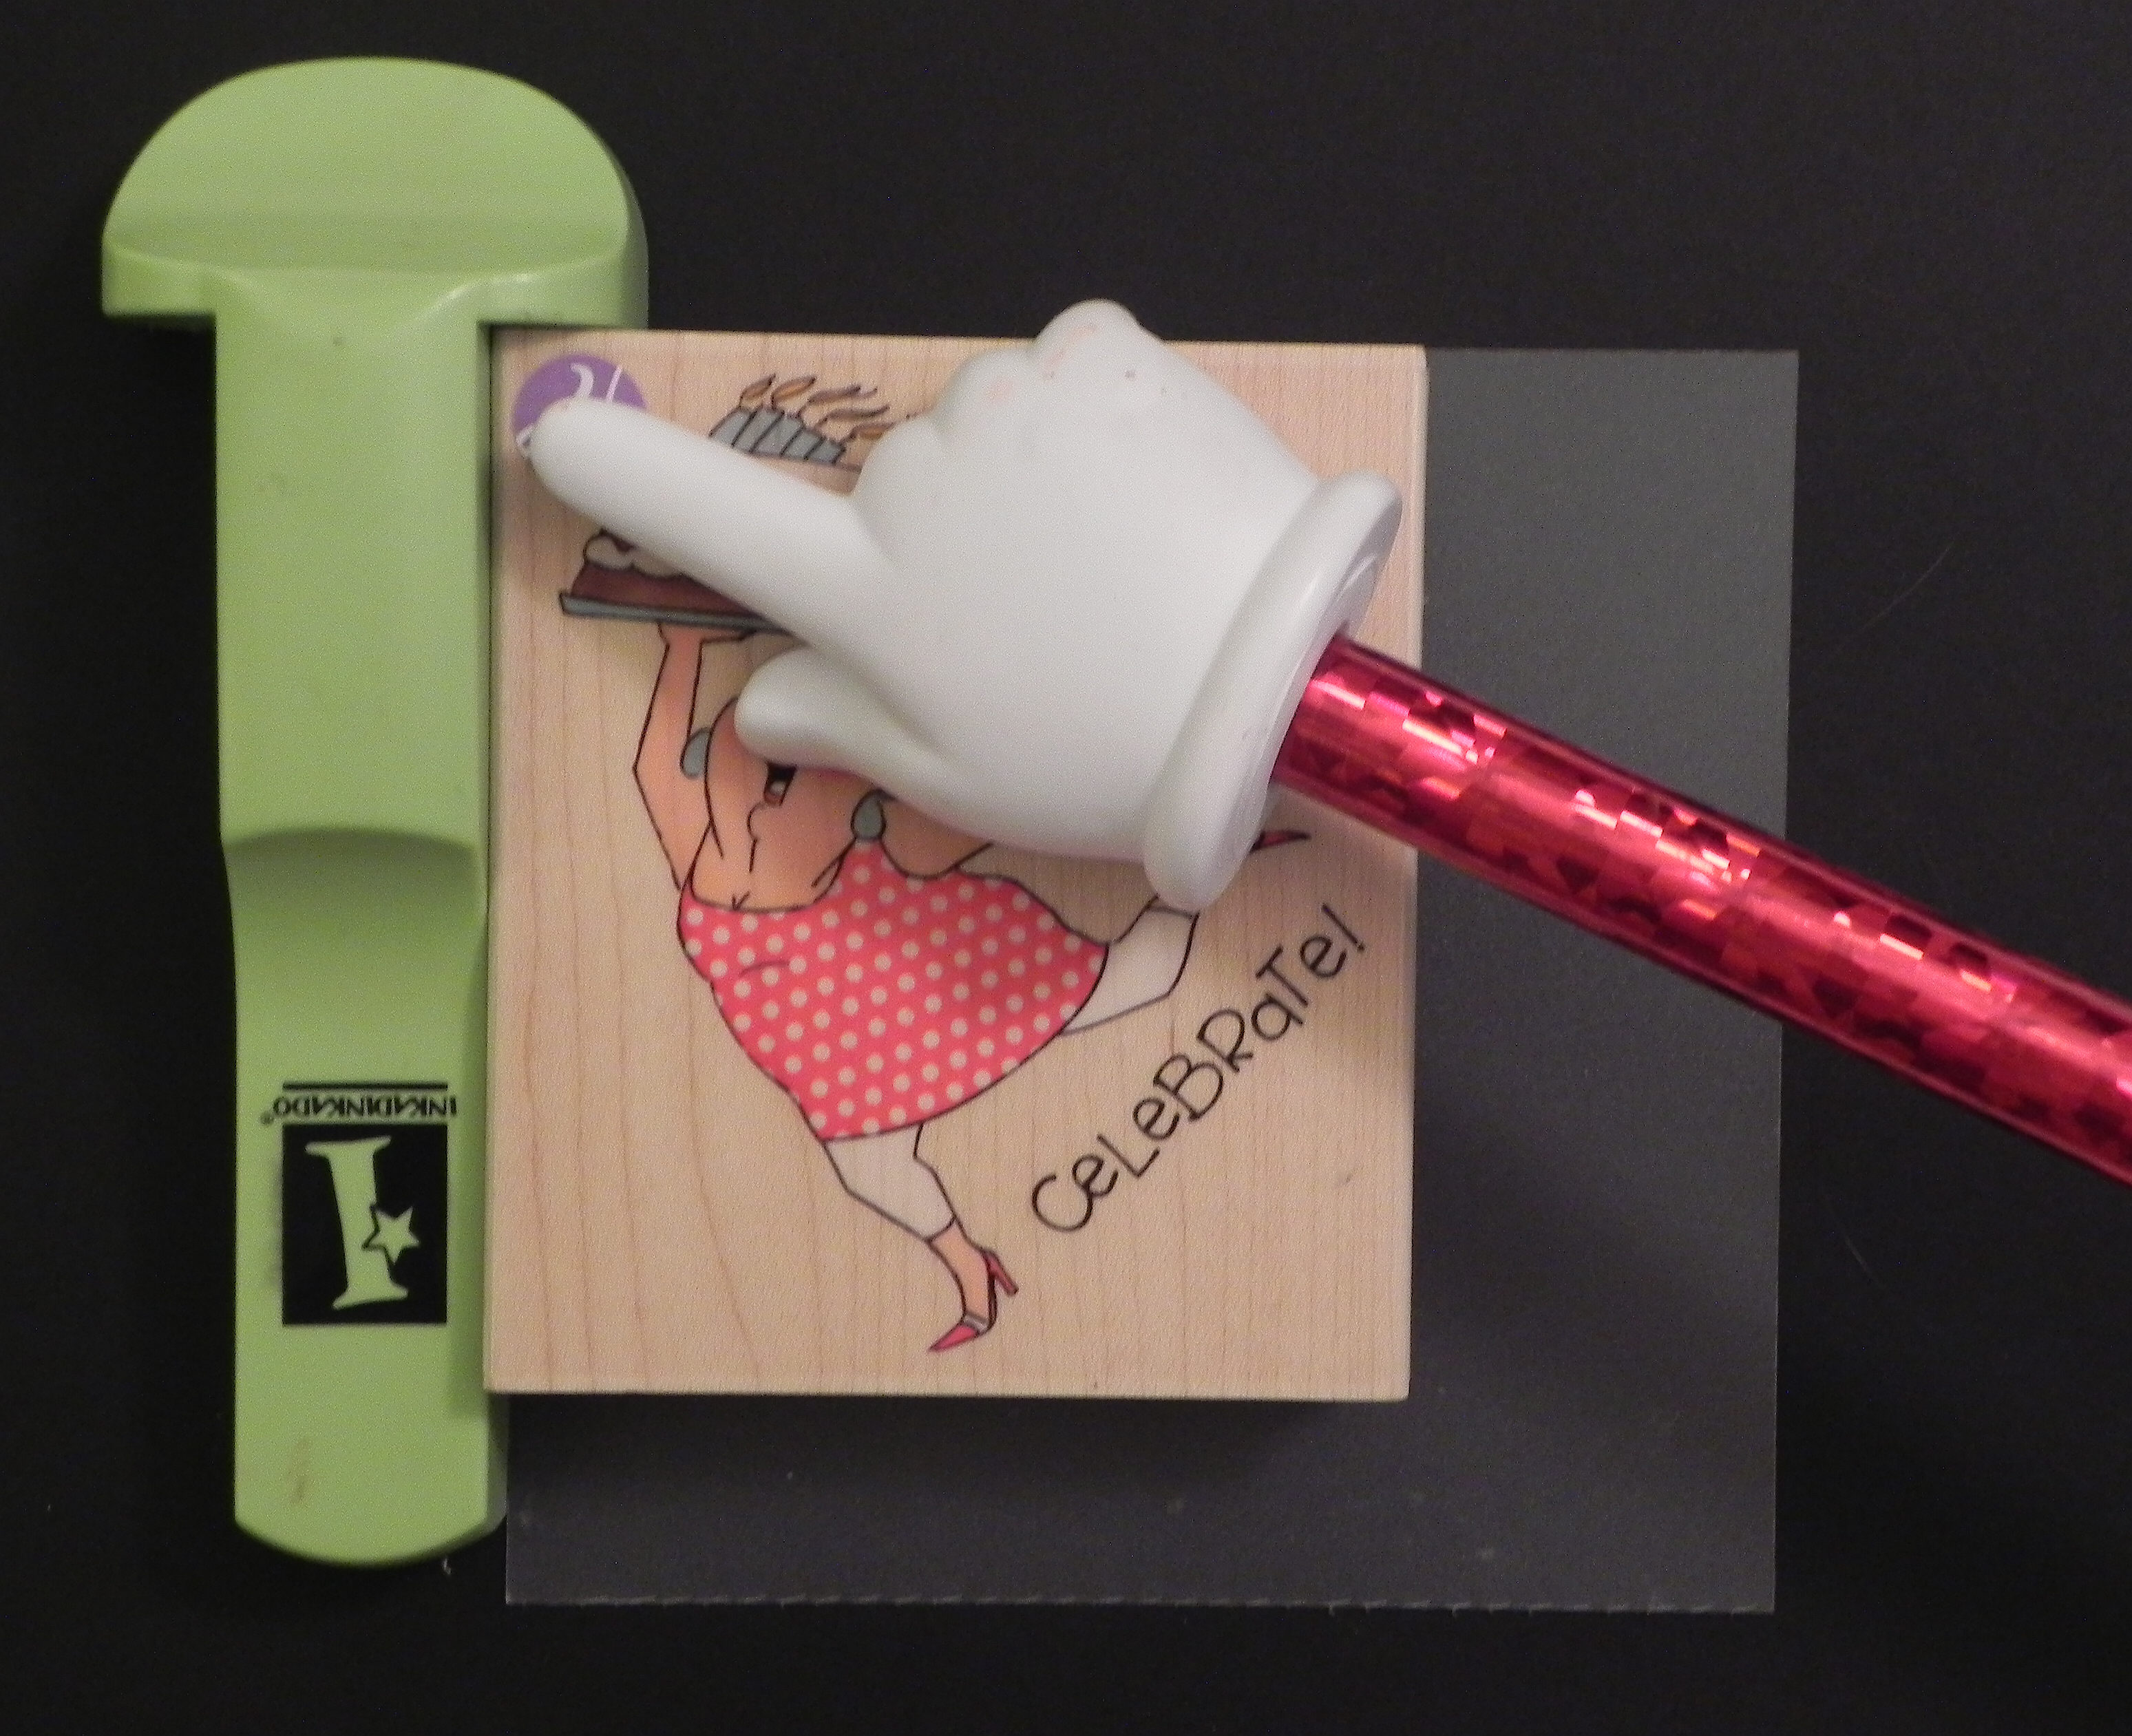
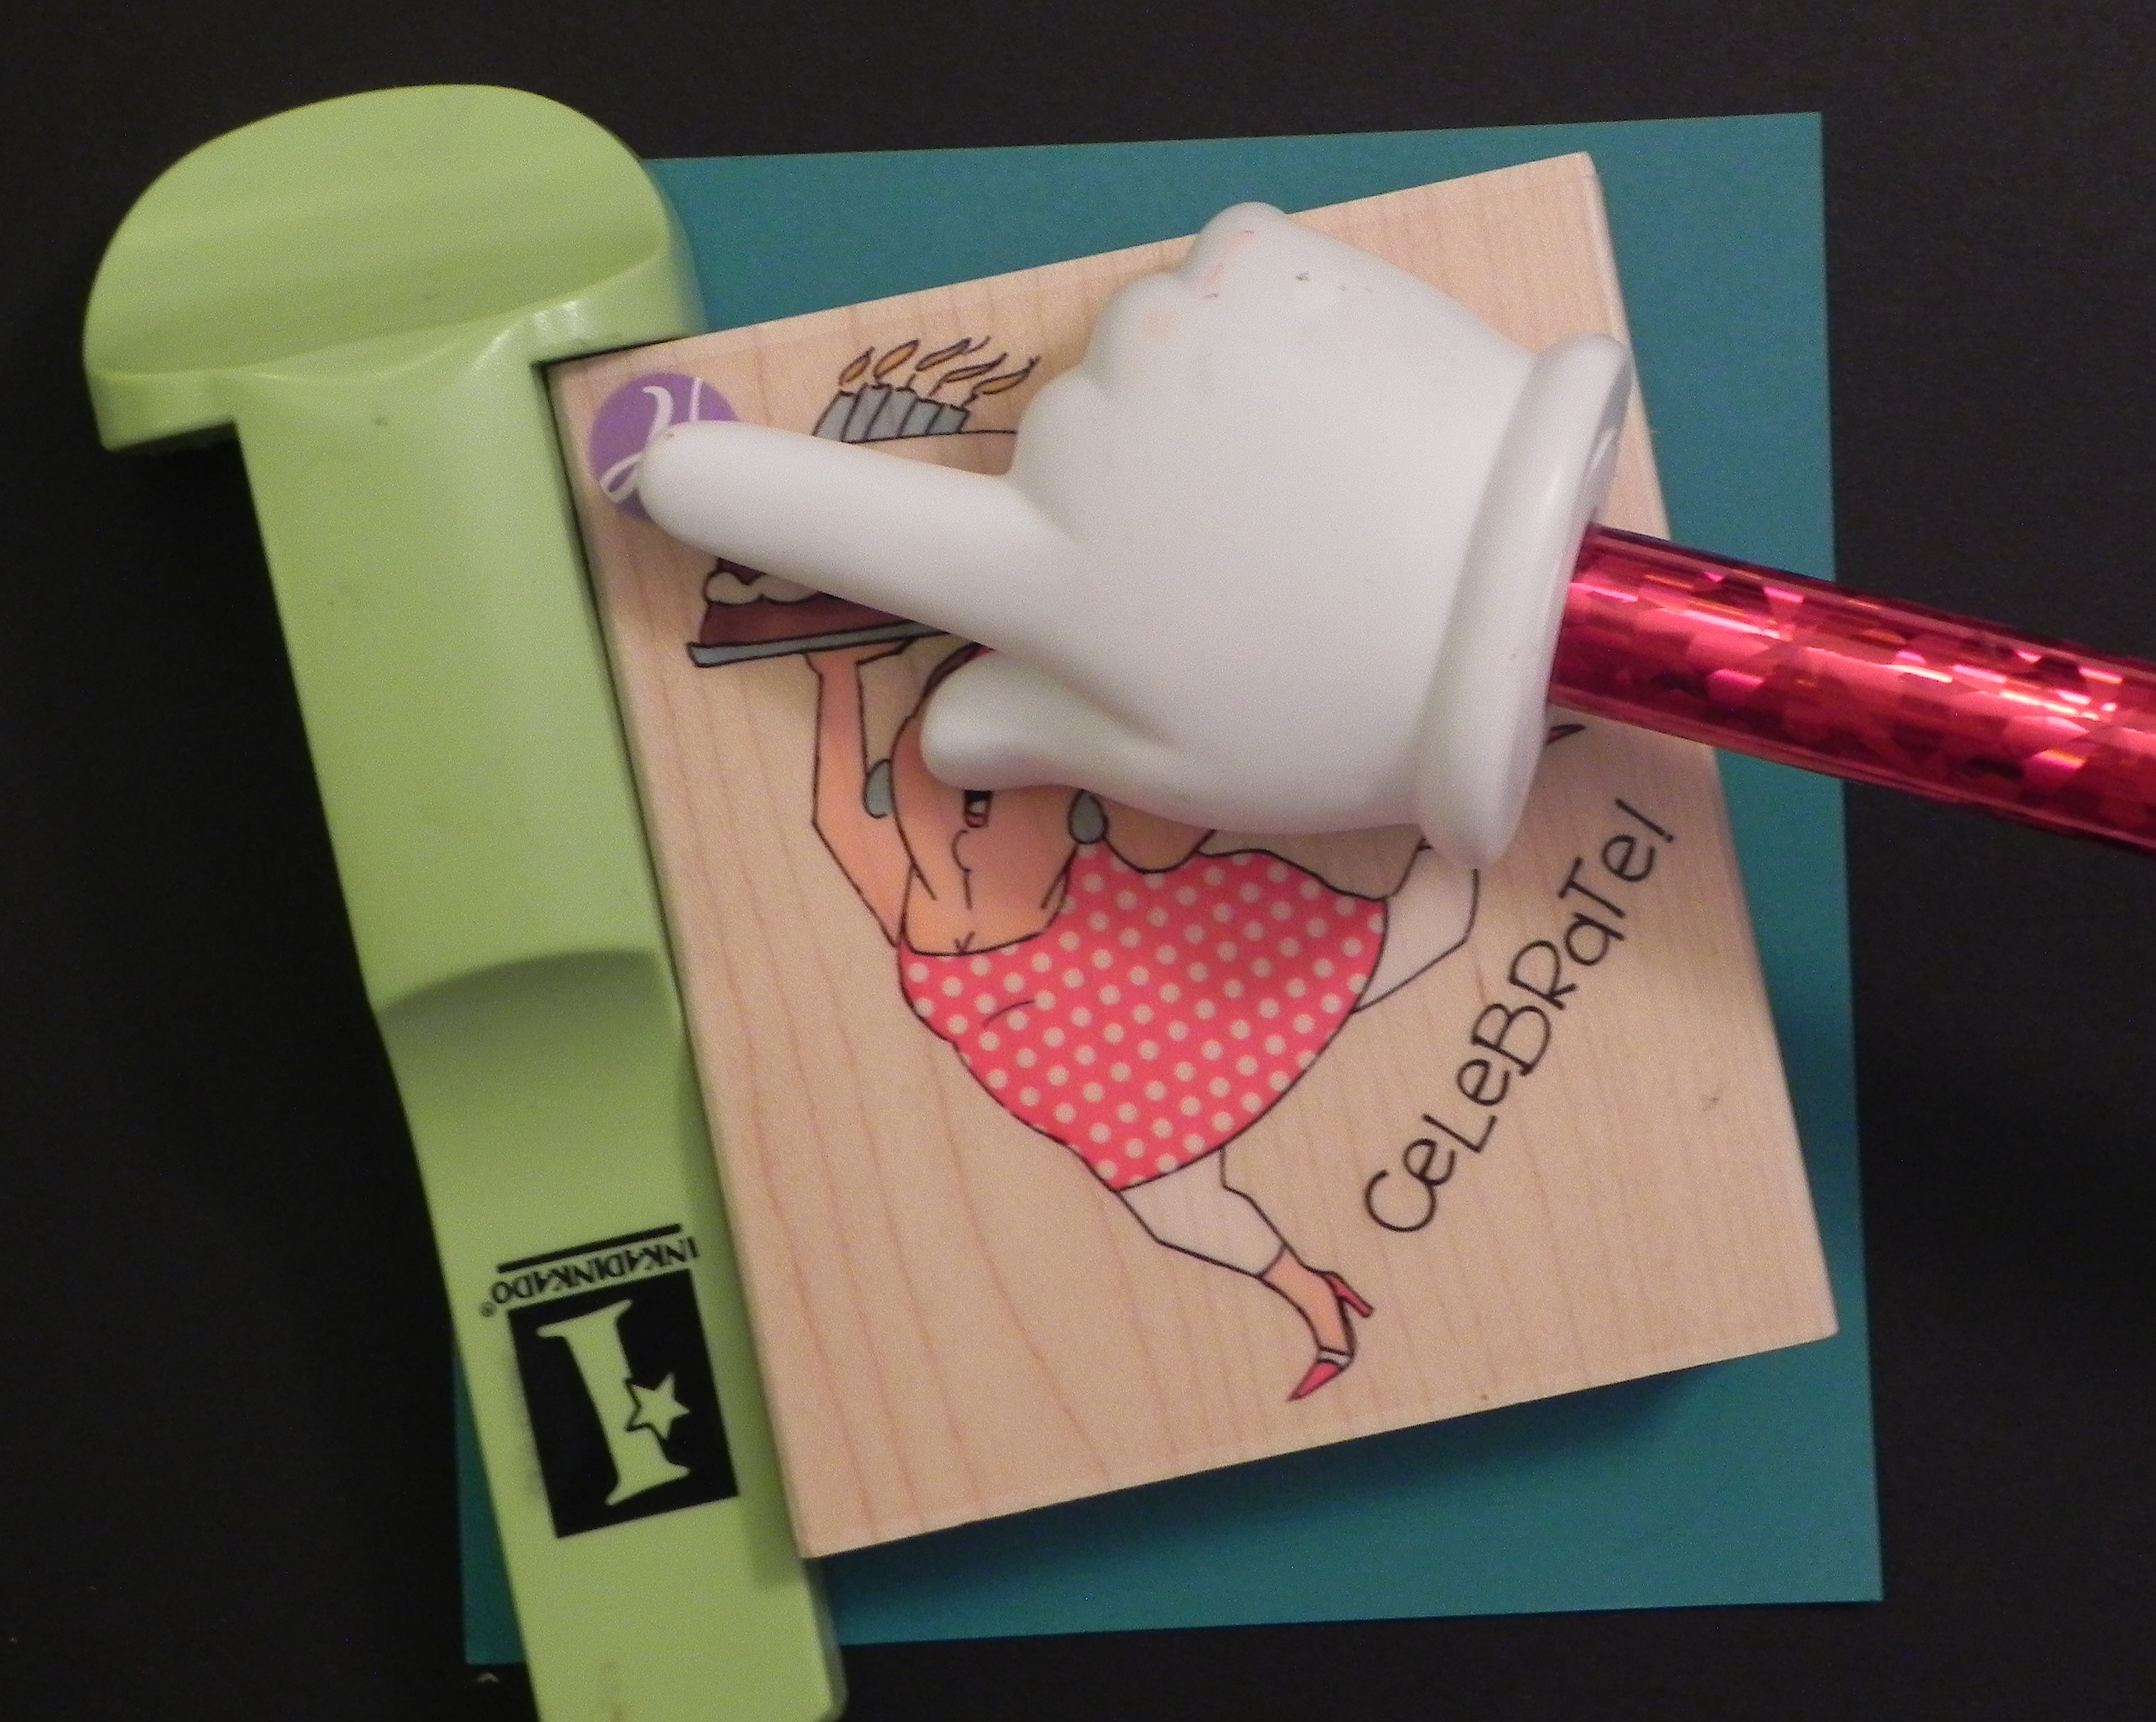
c. Without moving the tool or positioner, ink your stamp, and stamp the image onto the positioner, again making sure to line up the stamp perfectly in the corner and along left edge of the tool.
Check alignment here and here.
d. Remove the stamp and tool, and you will have a stamped image on your positioner sheet.
e. Place the positioner sheet on your cut out shape from step (a). Position it as desired on the cut-out.
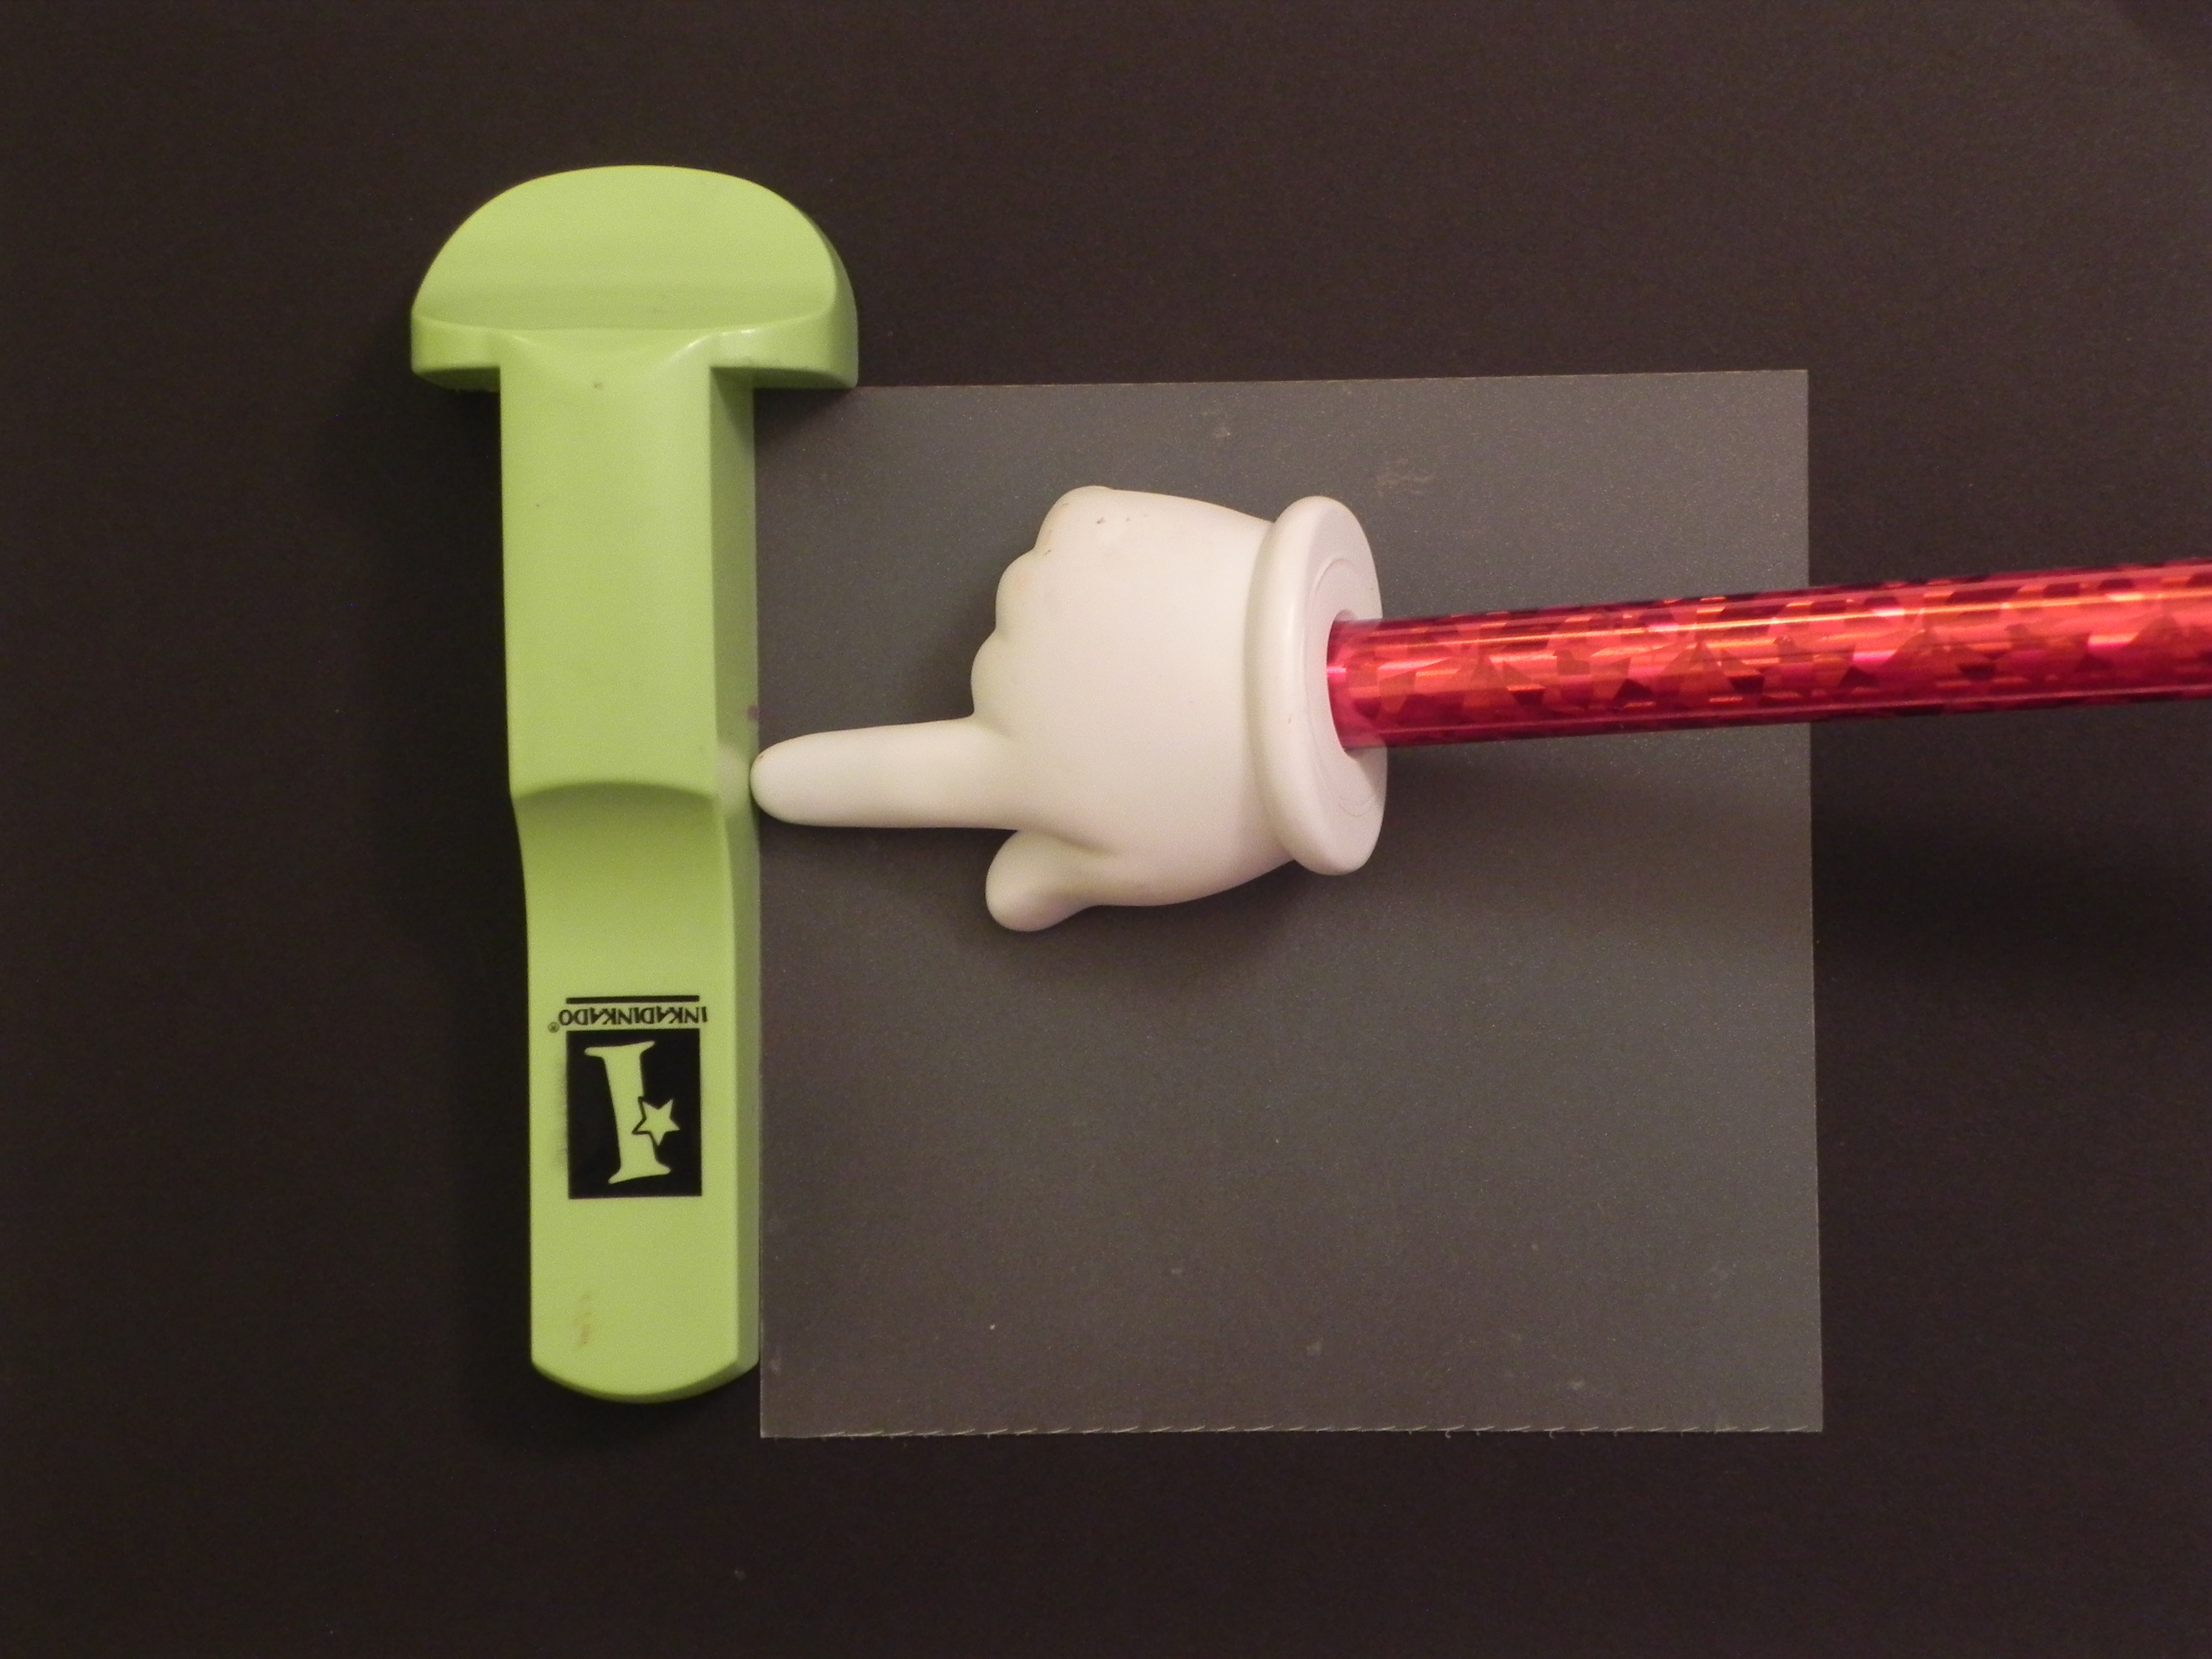
f. While holding the positioner securely in place, put the stamp-a-ma-jig against the upper left corner of the positioner. Check the corner and edge to make sure it is positioned correctly.

Check alignment here and here.

g. Without moving the tool, slide the positioner sheet away.
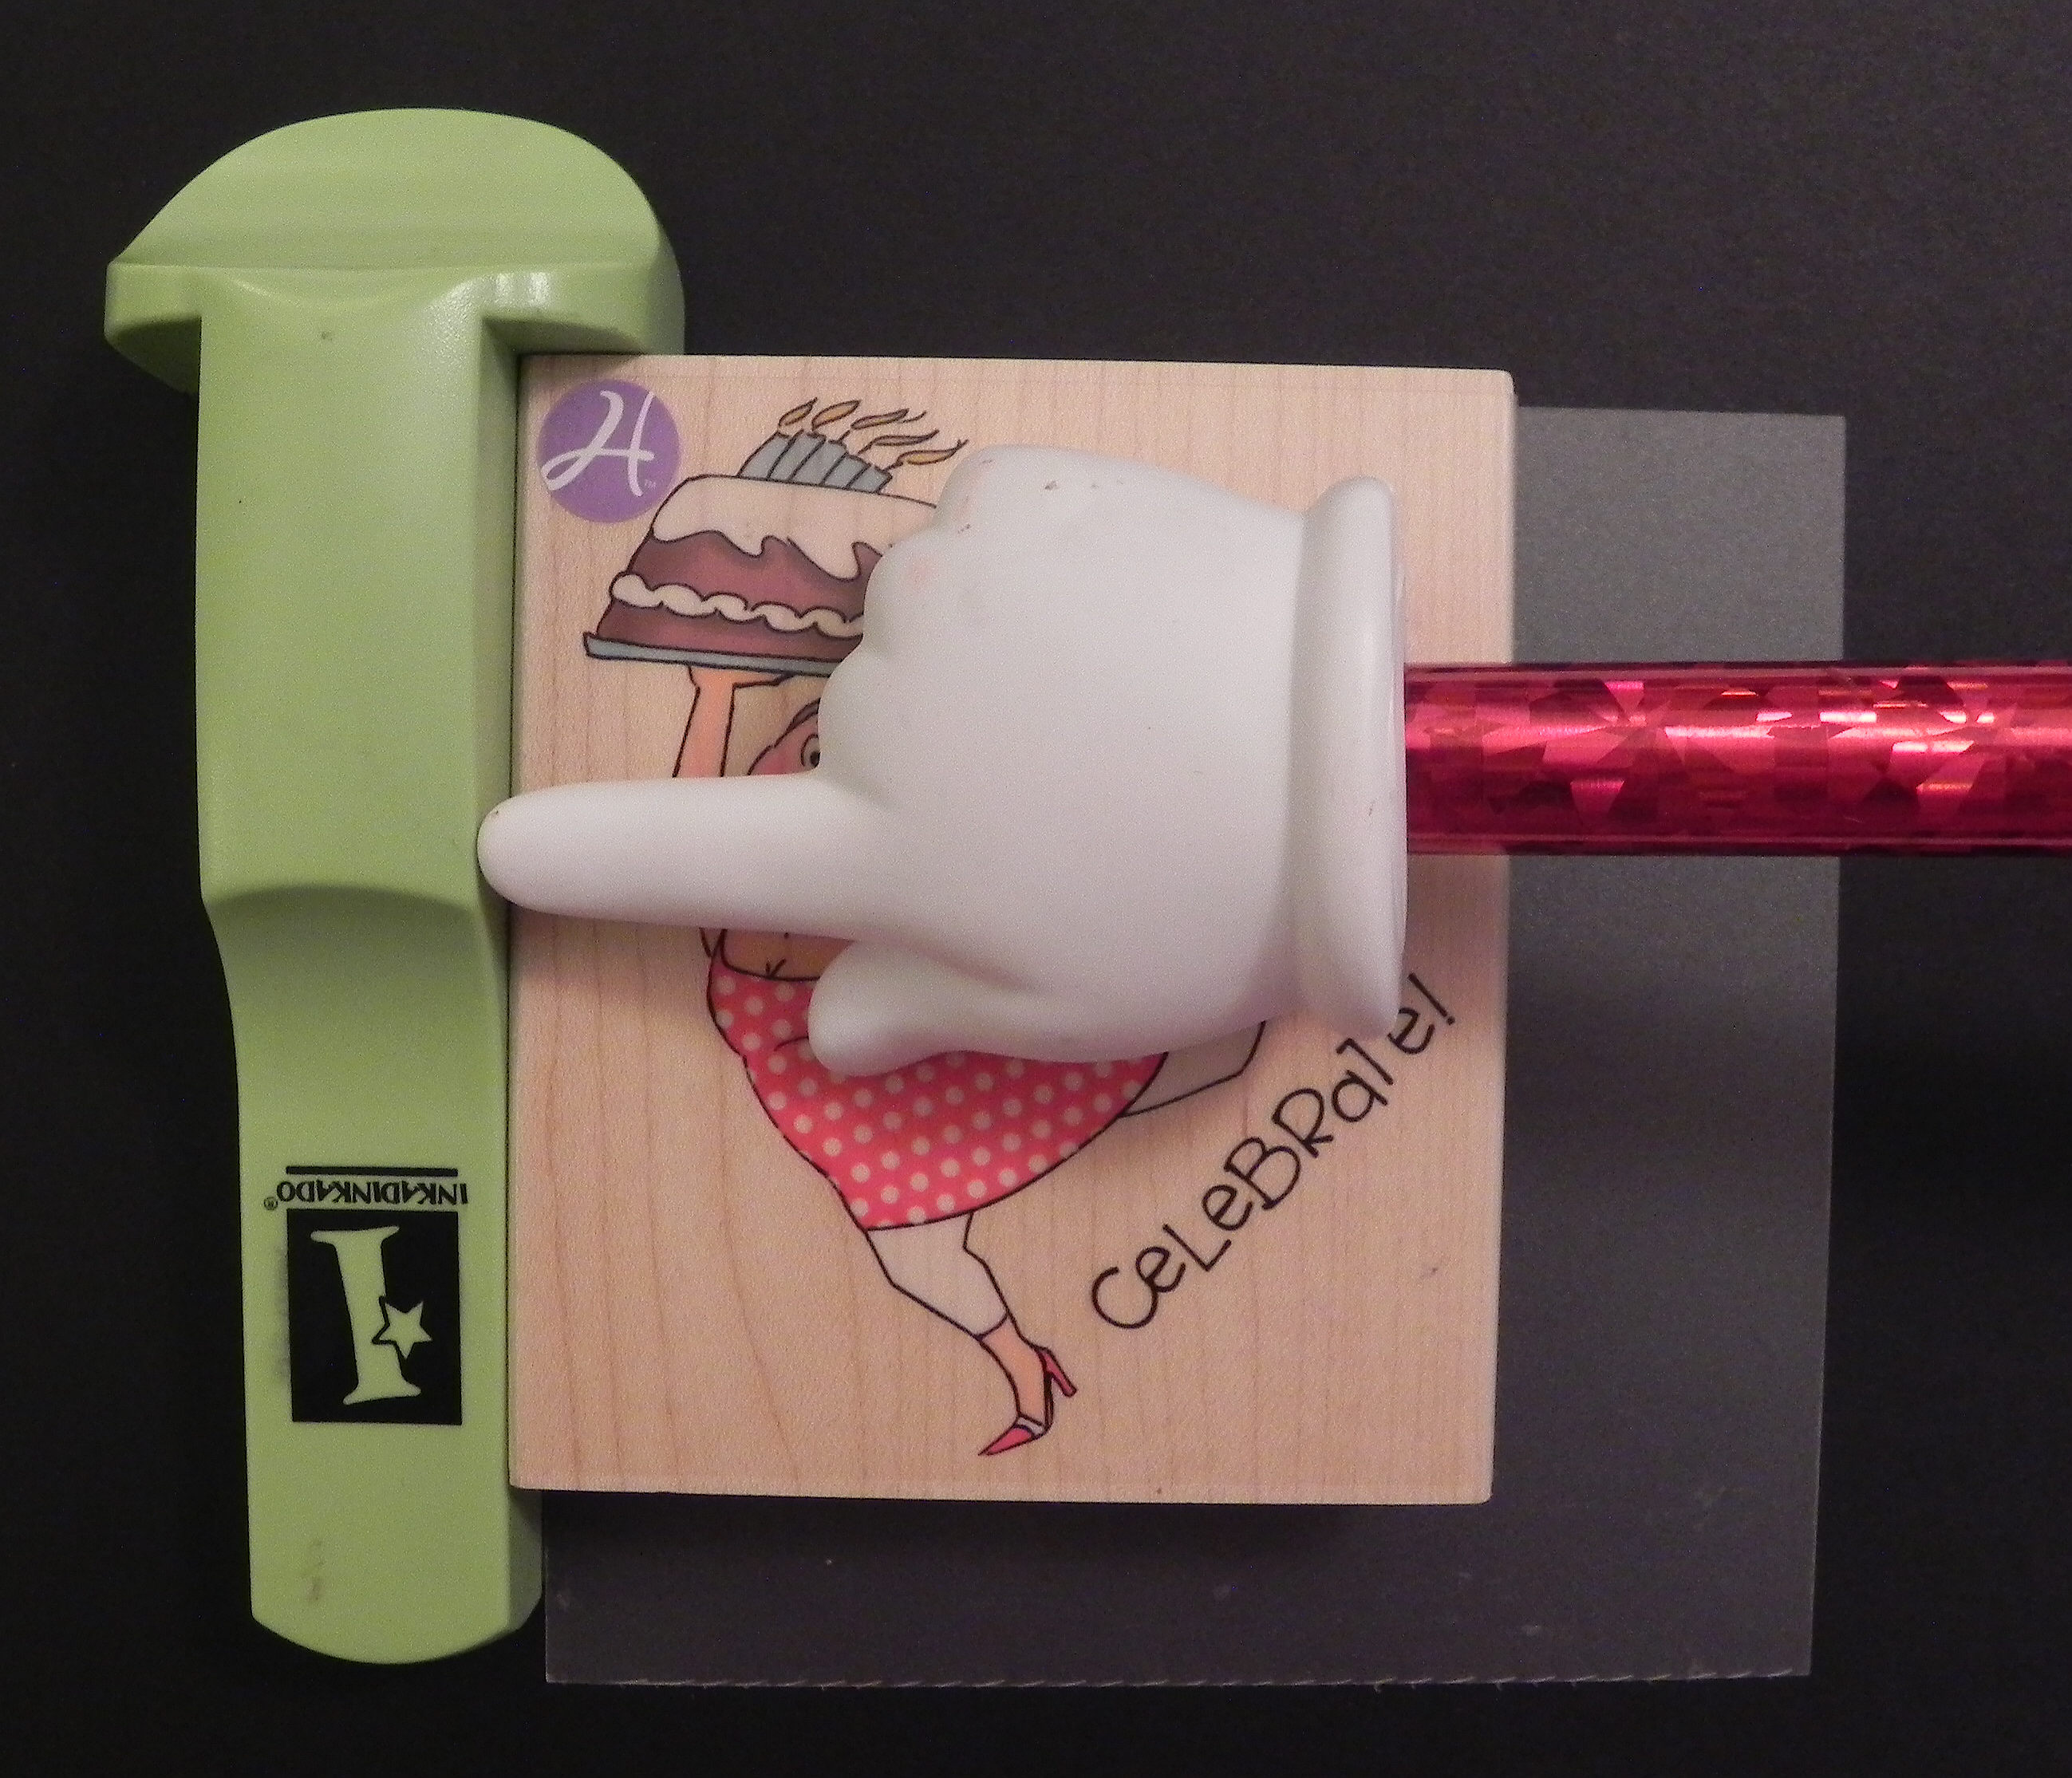
 h. Stamp the image on your cut-out shape/die cut, lining up the stamp in the corner of the tool as you did before. Don’t let the tool move at all. If it does, start over with the step (e).
Check alignment here and here.

i. Remove the stamp. The image is now on the die cut.

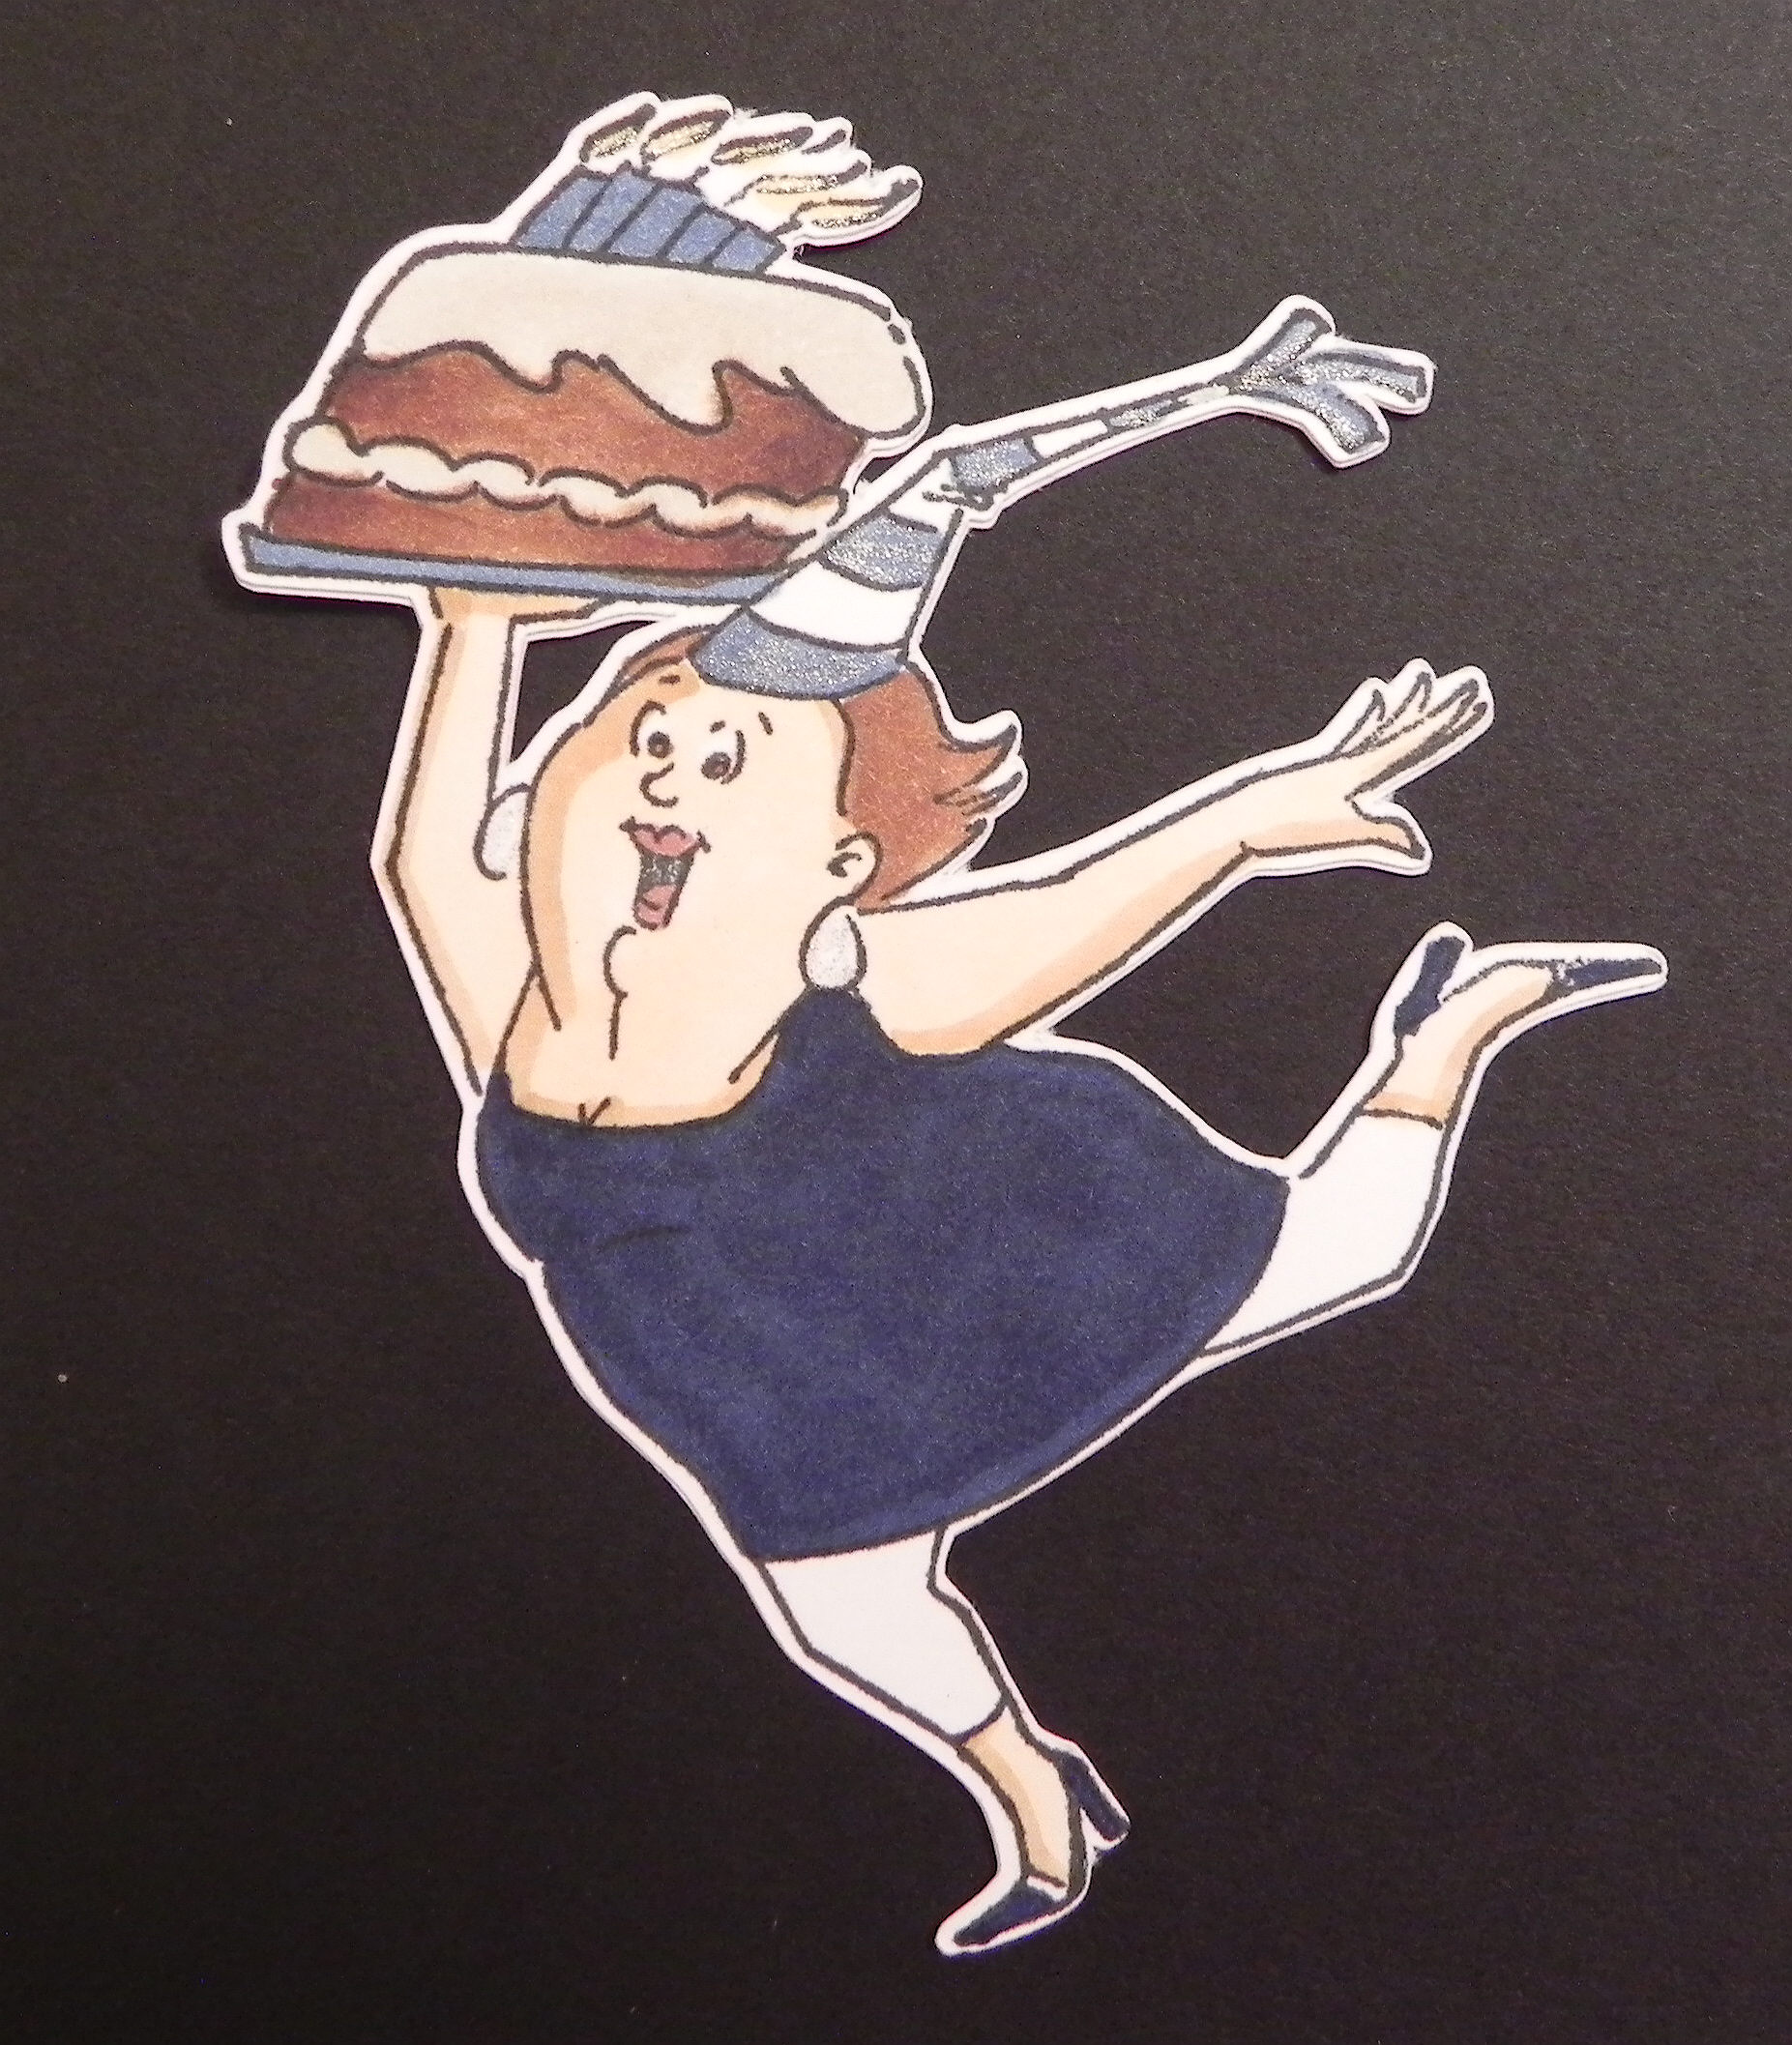
Here’s the card I made using the die cut image. (You can see the original post HERE.)
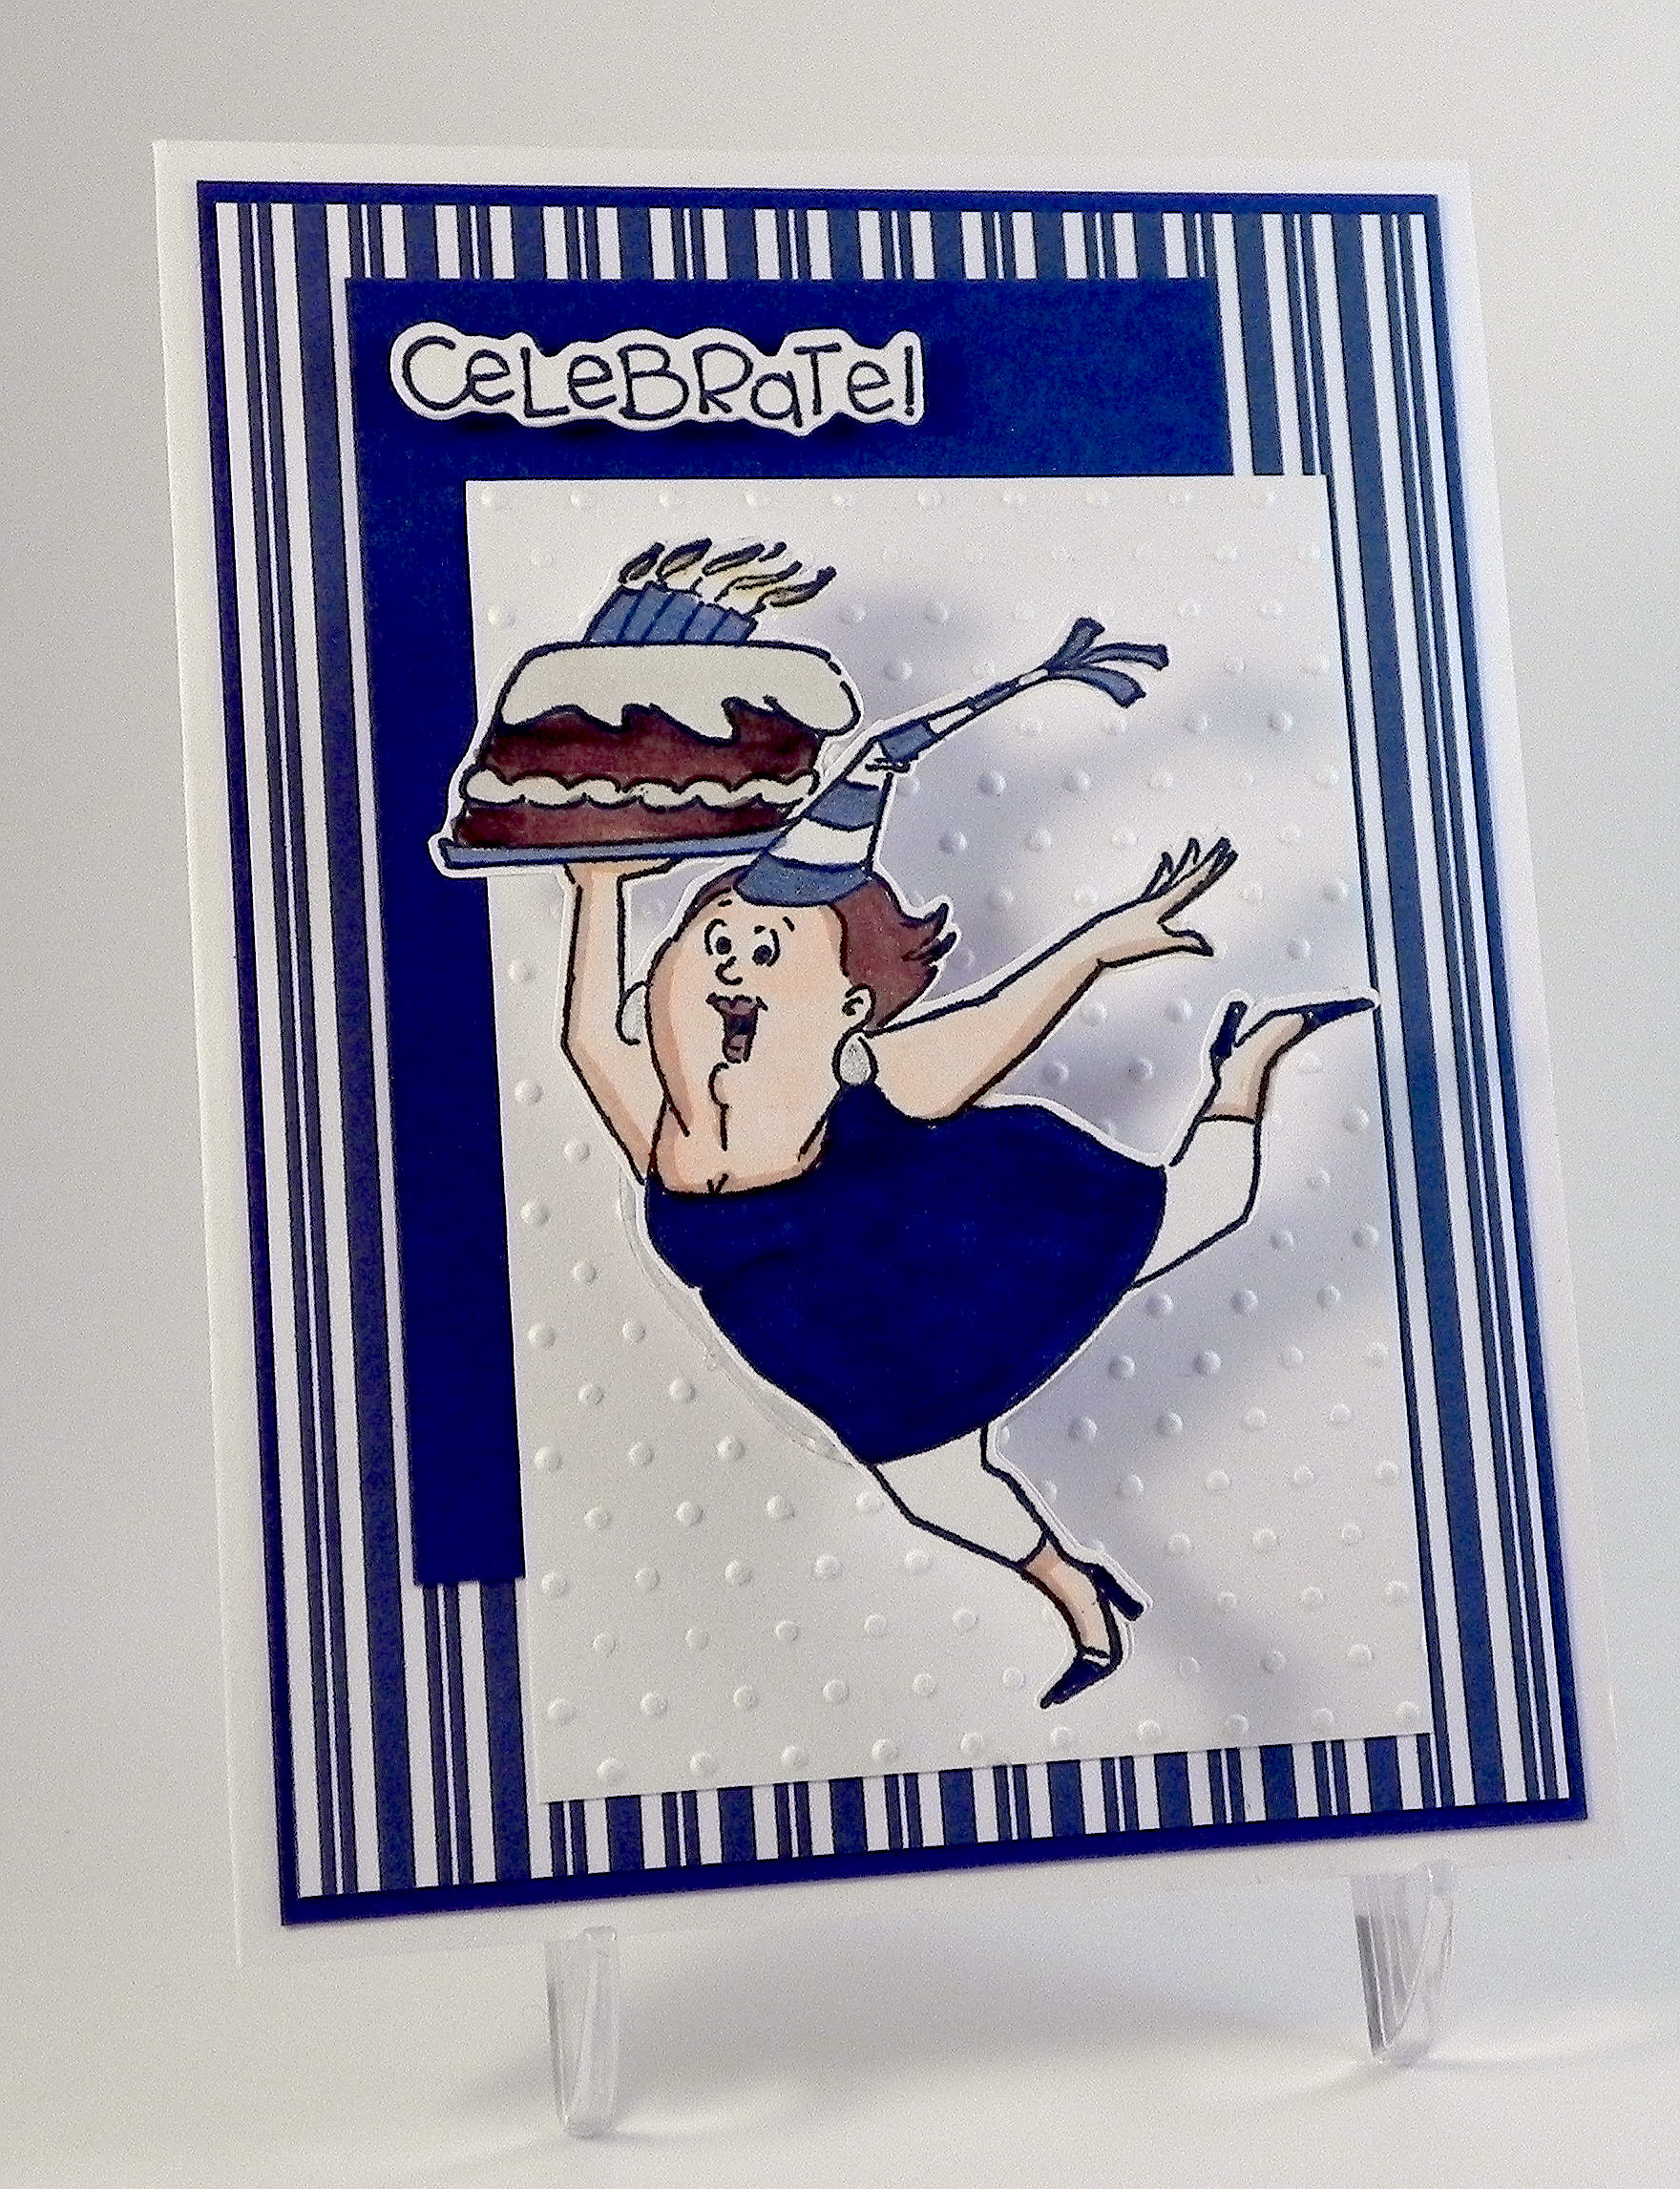
(stamp is Art Impressions (Hampton Art) # PS0919)
Thanks for checking out my post!
This content uses referral links as described in the disclosure policy on my sidebar.


Pingback: Happy 29th Birthday | I Played With Paper Today!
Another wonderful and simply easy tutorial by you. I have both of these tools, but do I use them……no! Thanks for the inspiration and reminder. I will do a better job next time. Oh, I like the hand on a stick.
LikeLike
Pingback: Happy 29th Birthday | I Played With Paper Today!
Pingback: Penny Slider/Spinner Tutorial | I Played With Paper Today!
Pingback: Missing Elf | I Played With Paper Today!
Pingback: Does This Make My Butt Look Big? | I Played With Paper Today!
Pingback: How to Make Silhouette Die Cuts for Your Stamped Images | I Played With Paper Today!
Excellent tutorial. I have learned this awhile back from some obscure YouTube video I watched, but I have a hard time explaining it to anyone. From now on I will refer them to your post. Thanks!!!!
LikeLike
Pingback: How to Make Silhouette Die Cuts for Your Stamped Images – Part II, Borderless | I Played With Paper Today!
Pingback: Tropical Birthday Shaker Card | I Played With Paper Today!